Why Are My Seeds Not Germinating? 9 Common Reasons and Fixes Fast
When seeds don’t sprout, it’s frustrating and usually fixable. The short answer: most germination failures come down to seed age, temperature, moisture, depth, or light. In this guide, you’ll learn nine common reasons seeds fail and exactly how to fix each one, plus reliable steps to get consistent germination indoors or in the garden.
- Quick Answer: The Most Common Causes of Poor Germination
- 1) Old or Low-Quality Seed
- 2) Wrong Temperature Range
- 3) Too Much or Too Little Water
- 4) Planting Depth Problems
- 5) Wrong Light Conditions
- 6) Using the Wrong Medium
- 7) Missing Pre-Treatment: Scarification or Stratification
- 8) Damping-Off and Disease
- 9) Pests and Physical Disturbance
- Seed-Starting Basics for Reliable Germination
- Outdoors vs. Indoors: When to Direct-Sow
- Troubleshooting by Crop
- When It’s Not You: Realistic Germination Windows
- Conclusion
Quick Answer: The Most Common Causes of Poor Germination
- Old or low‑quality seed with reduced viability
- Soil too cold or too hot for the crop’s preferred range
- Overwatering or underwatering leading to rot or stalled seeds
- Planting too deep or too shallow
- Wrong light conditions (some seeds need light, others darkness)
- Using heavy garden soil instead of a sterile seed-starting mix
- Failure to provide required pre-treatments (scarification, stratification)
- Damping-off disease from pathogens in wet, poorly ventilated conditions
- Pests or disturbance (fungus gnats, rodents, birds, slugs) removing or damaging seeds
Below, we’ll break down each issue with fixes and prevention tips so you can get strong, even germination.
1) Old or Low-Quality Seed
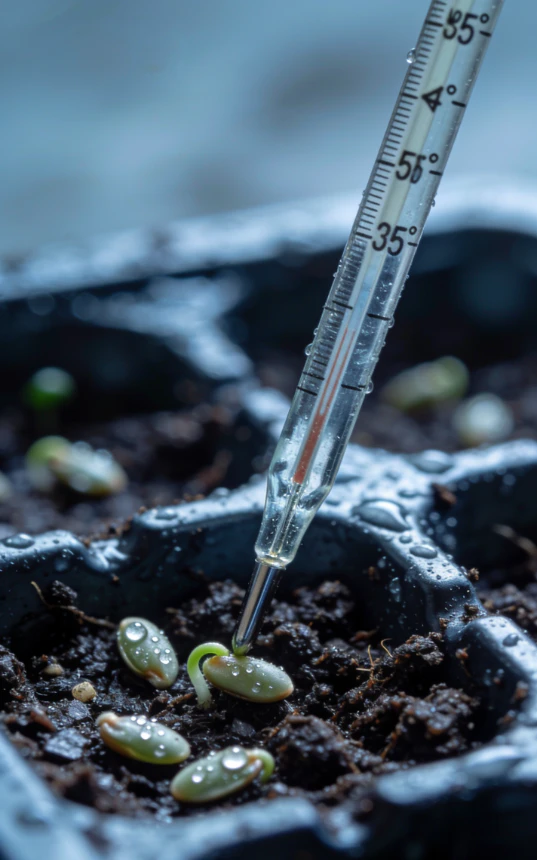
Seed viability declines with time, especially if stored warm or humid. Some seeds (onions, parsley, parsnips) lose vigor within a year, while others (tomatoes, brassicas) stay viable for several years under good storage.
How to diagnose
- Very patchy sprouting from the same packet
- No germination despite proper moisture and temperature
- Packet is past its “packed for” season or stored in heat/humidity
Fixes
- Do a paper towel test: Moisten a paper towel, place 10 seeds, seal in a plastic bag with air, keep at the crop’s ideal temperature, and check in the expected germination window. If fewer than 70% sprout, sow more densely or buy fresh seed.
- Buy from reputable suppliers and check “packed for” date.
Prevention
- Store seeds cool, dark, and dry: sealed container with a desiccant in the refrigerator (not freezer unless the species tolerates it).
- Label packets with purchase and opening dates.
Related: I Made These 10 Gardening Mistakes So You Don’t Have To (A Beginner’s Guide)
2) Wrong Temperature Range
Germination enzymes are temperature-sensitive. Cool-season crops prefer cooler soil; warm-season crops need warmth to trigger sprouting.
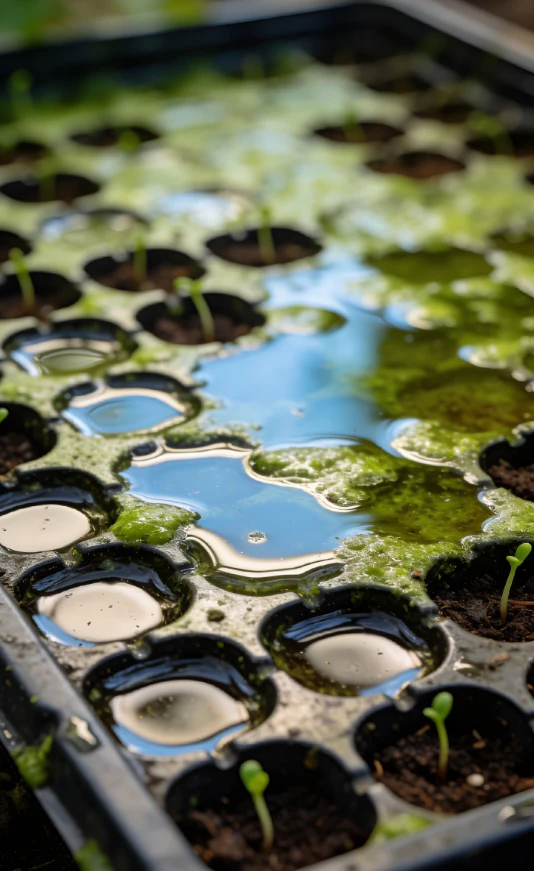
Typical soil temperature ranges for germination
- Cool-season (lettuce, spinach, peas, radishes): about 40–75°F; many sprout best around 50–70°F. Lettuce can struggle above ~80°F.
- Warm-season (tomatoes, peppers, eggplant, squash, cucumbers, melons): about 70–95°F; peppers often need 75–90°F to be timely.
- Herbs vary: basil prefers warm (70–85°F); parsley is cooler-tolerant but slow.
Fixes
- Indoors: Use a seedling heat mat with thermostat to maintain the crop’s ideal soil temperature.
- Outdoors: Check soil temperature with a probe thermometer at sowing depth. Wait to sow warm-season crops until soil consistently reaches 65–70°F+. For cool-season seed in summer, provide afternoon shade or soil cooling.
Prevention
- Match sowing windows to your USDA hardiness zone and local frost dates.
- Avoid window sills with large day–night temperature swings.
3) Too Much or Too Little Water
Seeds need steady moisture—not saturation. Overwatering drives out oxygen and can rot seeds. Underwatering dries the seed mid-process, stopping germination.
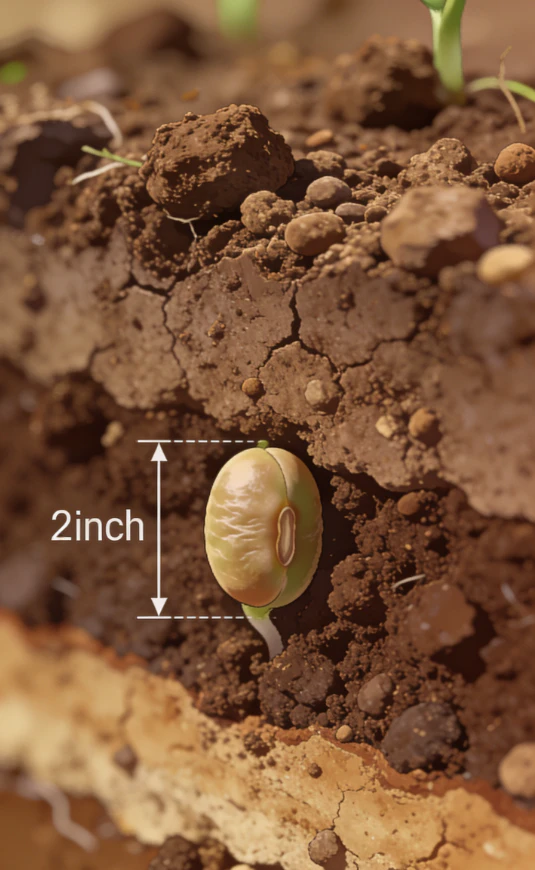
How to diagnose
- Constantly soggy mix, algae on soil, or foul smell = overwatering
- Crusty surface, shrinking potting mix pulling from edges, or light, dusty feel = underwatering
Fixes
- Water from the bottom: set trays in a shallow pan and let mix wick moisture, then drain.
- Cover with a humidity dome or loose plastic until sprout emergence, then vent daily and remove once most seeds are up.
- Outdoors: After sowing, gently firm soil and water with a fine rose. Keep the top 1/2 inch consistently moist until germination by light, frequent watering or floating row cover to reduce evaporation.
Prevention
- Use a fine-textured, peat- or coir-based seed-starting mix for even moisture.
- Ensure containers have drainage holes.
4) Planting Depth Problems
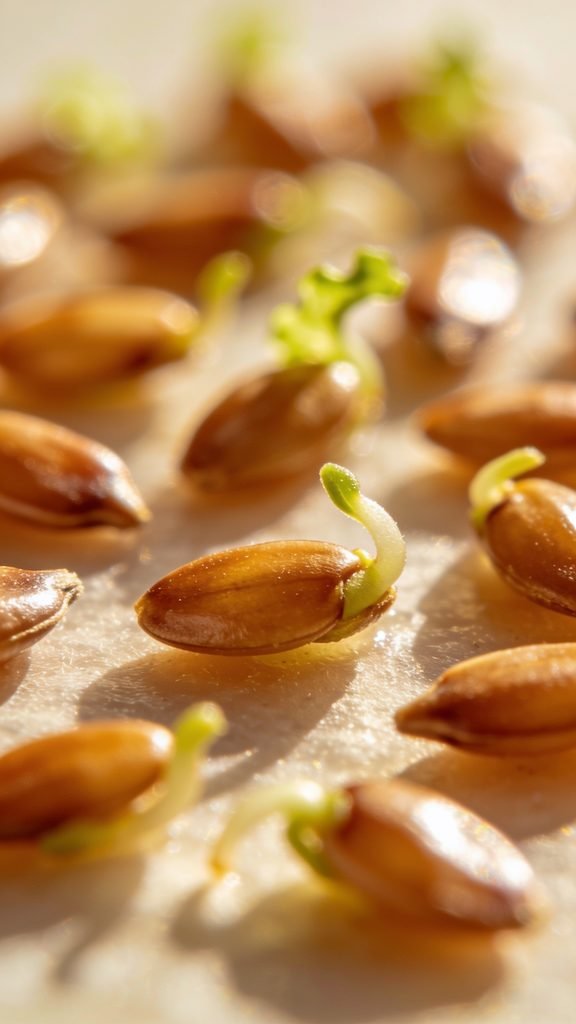
Planting too deep blocks tiny seeds from reaching light and oxygen; too shallow can dry them out or expose them to birds.
Rules of thumb
- General: sow at a depth about 2–3 times the seed’s diameter.
- Dust-like or very small seeds (lettuce, petunias): press onto the surface; don’t cover.
- Larger seeds (beans, peas, corn, squash): typically 1–1.5 inches deep, depending on species and soil texture.
Fixes
- If planted too deep: For trays, gently scrape back some mix. Outdoors, re-sow at correct depth.
Prevention
- Follow the seed packet’s depth recommendation; it’s tailored to that species.
- After covering, lightly firm to ensure seed–soil contact.
5) Wrong Light Conditions
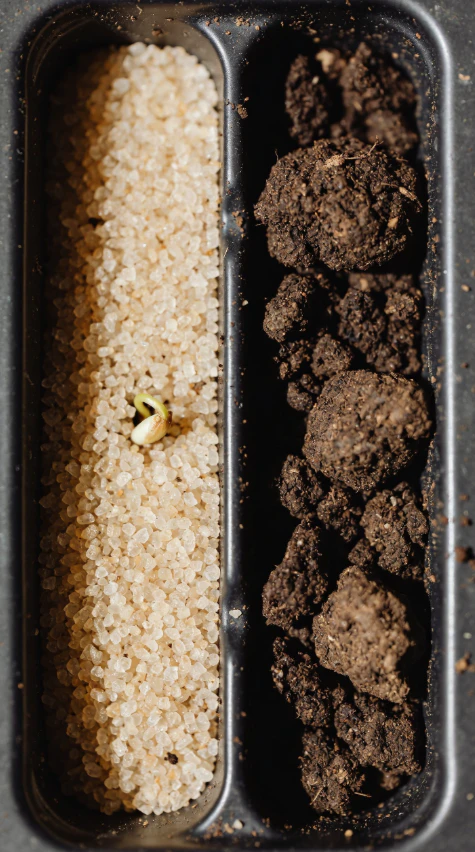
Light matters differently before and after germination. Some species are “light-requiring” (they need exposure to light to trigger germination), while others prefer darkness.
Examples
- Light-requiring: lettuce, celery, some herbs, many native wildflowers.
- Dark-prefering: many vegetables tolerate darkness until emergence, but still don’t plant too deep.
Fixes
- For light-requiring seeds: surface-sow and press lightly; use a clear cover to retain humidity.
- After sprouting: provide strong light—14–16 hours/day under grow lights 2–4 inches above seedlings to prevent leggy growth.
Prevention
- Check packet or a reliable reference for light needs during germination.
6) Using the Wrong Medium
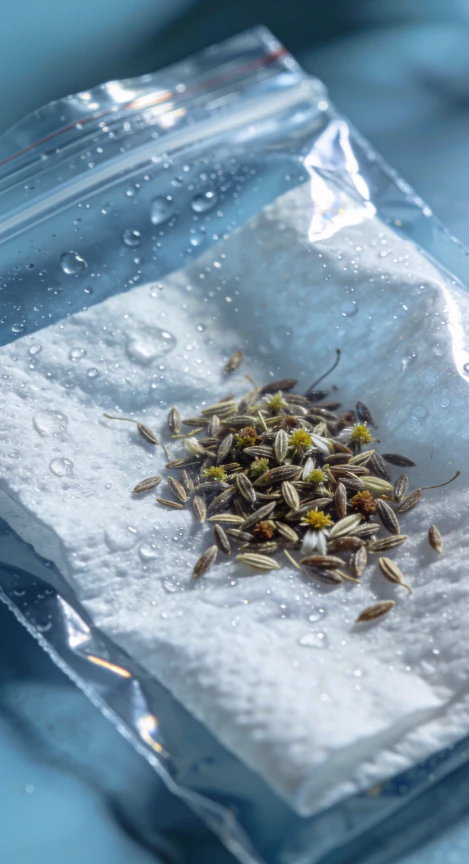
Garden soil can harbor pathogens, compact in containers, and drain poorly. A sterile, fine seed-starting mix supports even moisture and oxygen at the root zone.
Fixes
- Start seeds in a seed-starting mix (fine-textured, low in nutrients). Pot up to a regular potting mix after first true leaves.
- Avoid heavy compost or manure-rich mixes at sowing; excess salts and nutrients can stress emerging roots.
Prevention
- Use clean containers and tools. Wash and, if needed, sanitize with a 10% bleach solution, then rinse.
7) Missing Pre-Treatment: Scarification or Stratification
Some species have built-in dormancy. They won’t sprout until the seed coat is broken (scarified) or after a period of cold, moist conditions (stratified).
Common examples
- Stratification: many natives, some herbs (lavender), and perennials need 30–90 days of cold, moist treatment.
- Scarification: tough-coated seeds like morning glory or certain native legumes benefit from nicking or brief hot-water soak.
Fixes
- Follow packet or a trusted reference for specific timing. For cold stratification: mix seeds with moist (not wet) sand or vermiculite in a labeled bag and refrigerate for the recommended period.
- For scarification: gently nick the seed coat with a file or soak in warm water for 12–24 hours as directed for the species.
Prevention
- Research dormancy needs before sowing perennials, natives, and woody plants.
8) Damping-Off and Disease
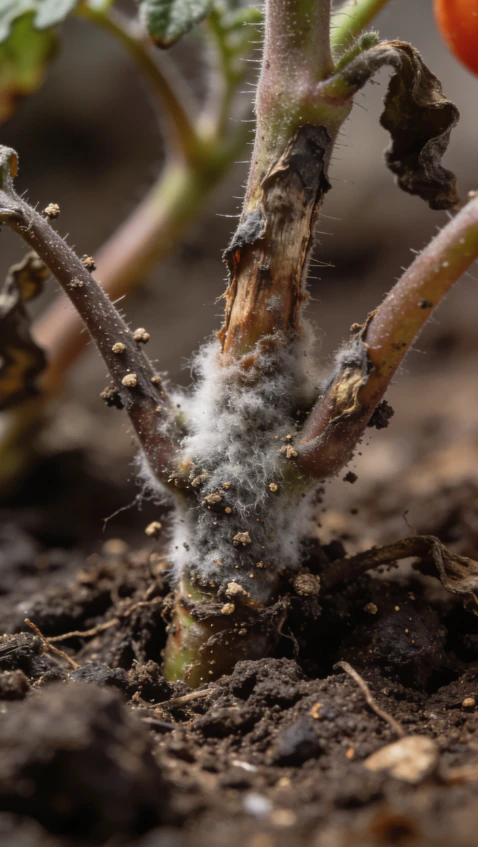
Damping-off is a seedling-killing disease caused by soilborne fungi and oomycetes that thrive in cool, wet, stagnant conditions. Seeds may rot before sprouting, or seedlings collapse at the soil line.
How to diagnose
- Seedlings emerge, then topple with pinched, water-soaked stems
- White fungal growth or a musty smell on the soil surface
Fixes
- Improve airflow: use a small fan on low, and remove humidity domes once most seeds have sprouted.
- Water early in the day and avoid splashing stems; bottom-water when possible.
- Discard severely affected trays; sterilize containers before reuse.
Prevention
- Use sterile seed-starting mix and clean containers.
- Do not overwater; allow the surface to dry slightly between waterings.
- Provide adequate light and temperature so seedlings grow quickly out of the most vulnerable stage.
9) Pests and Physical Disturbance
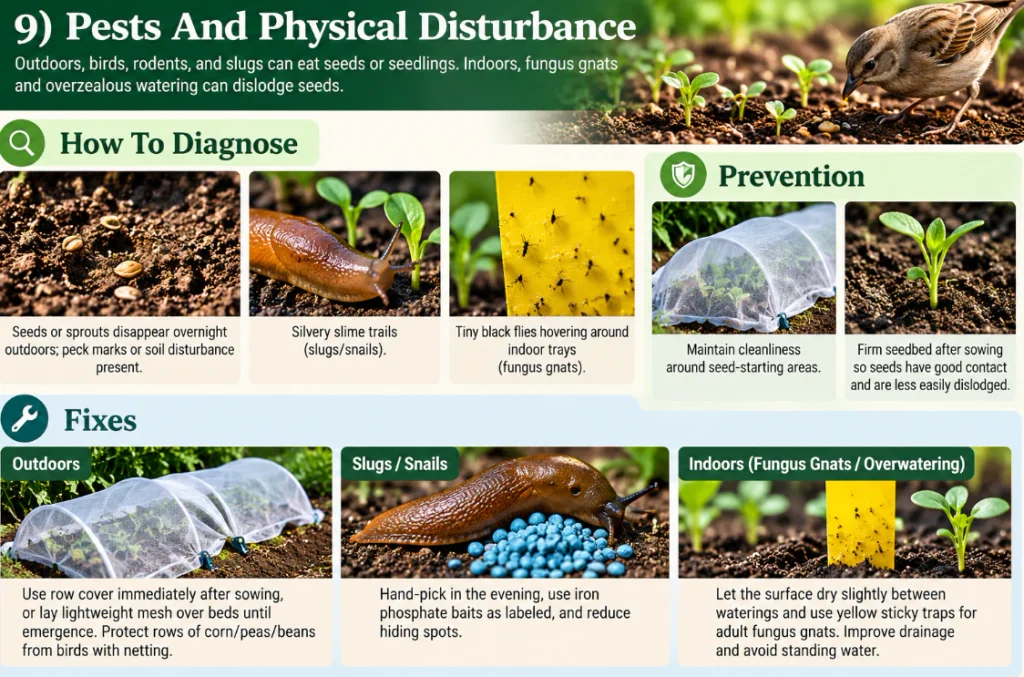
Outdoors, birds, rodents, and slugs can eat seeds or seedlings. Indoors, fungus gnats and overzealous watering can dislodge seeds.
How to diagnose
- Seeds or sprouts disappear overnight outdoors; peck marks or soil disturbance present
- Silvery slime trails (slugs/snails)
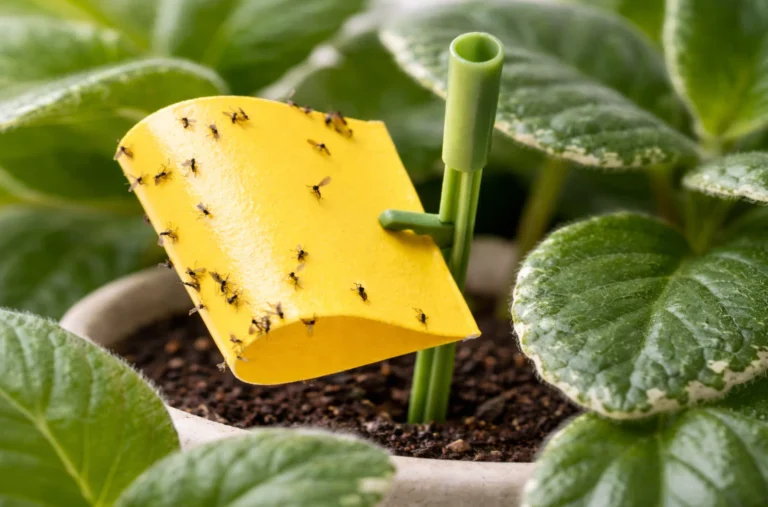
- Tiny black flies hovering around indoor trays (fungus gnats)
Fixes
- Outdoors: Use row cover immediately after sowing, or lay lightweight mesh over beds until emergence. Protect rows of corn/peas/beans from birds with netting.
- For slugs/snails: hand-pick in the evening, use iron phosphate baits as labeled, and reduce hiding spots.
- Indoors: Let the surface dry slightly between waterings and use yellow sticky traps for adult fungus gnats. Improve drainage and avoid standing water.
Prevention
Maintain cleanliness around seed-starting areas.
Firm seedbed after sowing so seeds have good contact and are less easily dislodged.
Seed-Starting Basics for Reliable Germination
Beyond fixing problems, a simple, repeatable process helps you get great results across many crops.
Set up your trays
- Use clean cell trays or shallow containers with drainage holes.
- Fill with moistened, sterile seed-starting mix. It should feel like a wrung-out sponge.
Sow correctly
- Follow recommended depth and spacing on the packet.
- Surface-sow tiny seeds; lightly press to ensure contact.
Manage environment
- Temperature: Use a heat mat for warm-season crops; remove once most seedlings emerge to avoid overheating.
- Light: Provide bright grow lights 2–4 inches above seedlings, 14–16 hours/day; raise lights as plants grow.
- Humidity: Cover to maintain moisture until emergence; then vent and remove to reduce disease risk.
Watering
- Bottom-water until the surface is evenly moist; drain excess.
- Let the top layer dry slightly between waterings after emergence.
After germination
- Thin crowded seedlings with clean scissors to recommended spacing in the cell.
- Begin half-strength, balanced fertilizer once true leaves appear if using a nutrient-free mix.
- Harden off seedlings 7–10 days before transplanting: gradually expose to outdoor conditions.
Outdoors vs. Indoors: When to Direct-Sow
Some plants dislike transplanting and often germinate better outdoors once soil conditions are right. Others are safer started inside where you control temperature and moisture.
Best direct-sown (generally)
- Root crops: carrots, parsnips, radishes, beets
- Peas and beans
- Corn, squash, cucumbers (in warm soil)
- Delicate wildflowers and many cover crops
Commonly started indoors
- Tomatoes, peppers, eggplants (need warmth and a head start)
- Brassicas (broccoli, cabbage, kale) for spring or fall transplants
- Many herbs and ornamentals with long germination times
Check the packet for direct-sow vs. transplant recommendations and your local frost calendar.
Troubleshooting by Crop
Peppers and eggplant
Slow or no sprout in cool mix. Aim for 75–90°F soil with a heat mat; expect 7–21+ days. Keep evenly moist and be patient.
Lettuce
Poor germination in hot conditions. Surface-sow and keep at 60–70°F; provide shade if summer sowing outdoors. Some cultivars are more heat tolerant.
Carrots
Seeds dry out easily in hot, windy beds. Keep the top 1/2 inch moist using a board, burlap, or row cover until emergence (usually 7–21 days). Remove cover at first signs of sprouting.
Parsley and cilantro
Slow germinators. Soak seeds 12–24 hours before sowing; maintain steady moisture and expect a longer window (up to 3–4 weeks for parsley).
Onions
Short-lived seed. Use fresh seed each year for best results; maintain 65–75°F for sprouting.
When It’s Not You: Realistic Germination Windows
Some species naturally take weeks to sprout, even in ideal conditions. Always check the packet for “days to germination.” If you’re within that window, wait before re-sowing. If you’re past it with no signs of life, perform a quick paper towel test to decide whether to re-seed.
How long should I wait before deciding seeds won’t germinate?
Use the packet’s “days to germination” as a baseline, then add about a week if temperatures were on the cool side. If nothing emerges by then, do a paper towel test; re-sow with fresh seed if results are poor.
Why do my seedlings sprout but fall over?
No. Heat mats help warm-season crops like peppers and tomatoes, and speed many others, but cool-season crops (lettuce, spinach, kale) germinate fine without added heat and may even prefer cooler soil.
Can I use garden soil to start seeds indoors?
It’s not recommended. Garden soil can compact and may contain pests and pathogens. Use a sterile, fine seed-starting mix for best results.
Why did my seeds germinate, then stop growing?
Common causes include low light (leggy, stalled seedlings), nutrient-poor mix without timely feeding after true leaves, or temperature stress. Provide strong light, begin light fertilization after true leaves, and keep temps in the species’ preferred range.
Conclusion
Seed germination usually comes down to a few controllable factors: viable seed, the right temperature and moisture, correct depth, and clean materials. Tweak those, and you’ll go from spotty sprouting to strong, even stands. When in doubt, test your seed, verify temperature, and simplify your setup so each variable is easy to manage the next time you sow.