How to Grow Okra in Pots: A Complete Guide to Planting, Care, and Harvesting
Okra is a heat-loving, productive vegetable that’s surprisingly easy to grow in containers if you give it enough sun, warmth, and a big enough pot. This guide explains exactly how to grow okra in pots from seed to harvest, including the right container size, soil mix, watering, fertilizing, pruning, and troubleshooting common problems. By the end, you’ll know how to set up your container okra for steady yields of tender pods all summer long.
Quick answer: To grow okra in pots, use a 5–7+ gallon container per plant with drainage, fill it with a well-draining, nutrient-rich mix, and place it where it gets 8+ hours of direct sun. Sow seeds when nights stay above 60°F, keep the soil consistently moist but not waterlogged, and fertilize lightly every 3–4 weeks. Harvest pods at 2–4 inches long, often every 1–2 days during peak production.
- Container-Grown Okra at a Glance
- Why Grow Okra in Pots?
- Best Okra Varieties for Containers
- Choosing the Right Container
- Potting Mix: The Foundation for Success
- When and How to Plant Okra in Pots
- Sunlight, Heat, and Placement
- Watering Okra in Containers
- Feeding and Fertilizing
- Staking, Pruning, and Plant Care
- Companion Planting in Pots
- Common Pests and Diseases
- Okra Flowering and Pollination
- Harvesting: Timing Is Everything
- Season-Long Care: Keeping Plants Productive
- Regional and Seasonal Considerations (U.S.)
- Troubleshooting Guide
- Step-by-Step: Planting to First Harvest
- Growing Okra Indoors or in Greenhouses
- End-of-Season Care and Replanting
- Cooking and Using Your Okra
- Frequently Asked Questions
- Conclusion: Container Okra, Made Simple
Container-Grown Okra at a Glance
| Growing Factor | Recommendation | Why It Matters |
|---|---|---|
| Sunlight | 8+ hours of direct sun daily | More sun increases flowering and pod production. |
| Container size | 5–7+ gallons per plant; 12–14″ diameter, 12″+ depth | Deep roots need space; larger volumes buffer moisture and heat. |
| Soil | High-quality potting mix with compost; not garden soil | Good drainage prevents root rot and compaction in pots. |
| Temperature | Best growth at 75–95°F; sow after soil warms to 70°F | Okra is very heat-loving and slows in cool soils. |
| Watering | Keep evenly moist; water when top 1–2″ are dry | Consistent moisture supports steady pod set and tenderness. |
| Fertilizer | Balanced or slightly higher K; light feed every 3–4 weeks | Supports flowering without excessive leafy growth. |
| Support | Stake tall varieties; wind protection on balconies | Prevents snapping and improves airflow. |
| Harvest | Pick at 2–4 inches (most types) every 1–2 days | Young pods are tender; frequent picking boosts yield. |
Why Grow Okra in Pots?
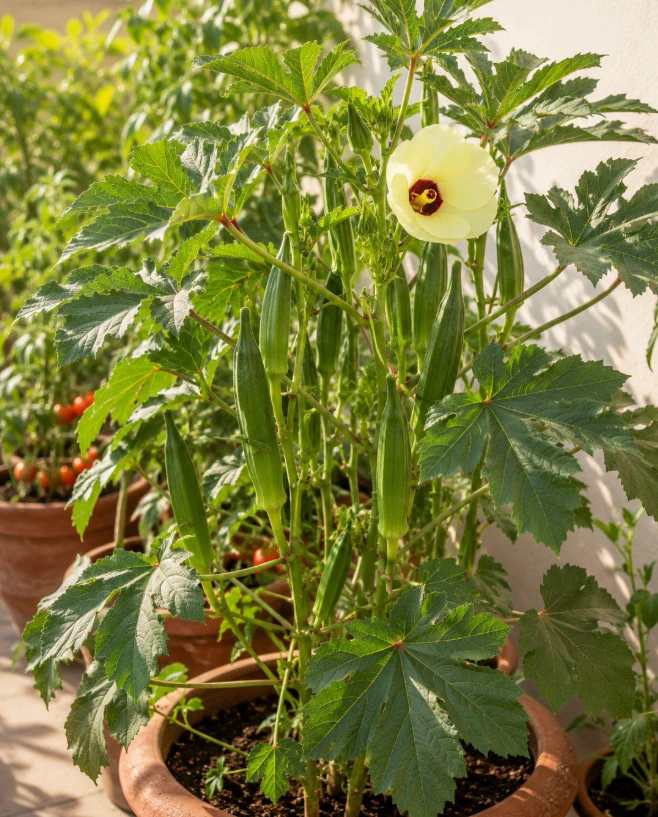
Okra thrives in heat, handles drought once established, and can be extremely productive. Container growing makes okra accessible on patios, balconies, and small spaces where garden beds aren’t available. It also helps warm the root zone faster in spring, often leading to quicker production in cool-spring regions. Because containers drain well and are isolated from garden soil, they also reduce risks of certain soilborne diseases and allow tailored potting mixes.
- Space-savvy: One plant per pot still yields well.
- Heat boost: Dark containers warm faster, speeding growth in early summer.
- Fewer weeds: Potting mix has minimal weed seeds.
- Mobility: Move pots to chase sun or protect during storms.
Related: How to Grow Eggplant in Pots: A Complete Guide to Planting, Care, and Harvesting
Best Okra Varieties for Containers
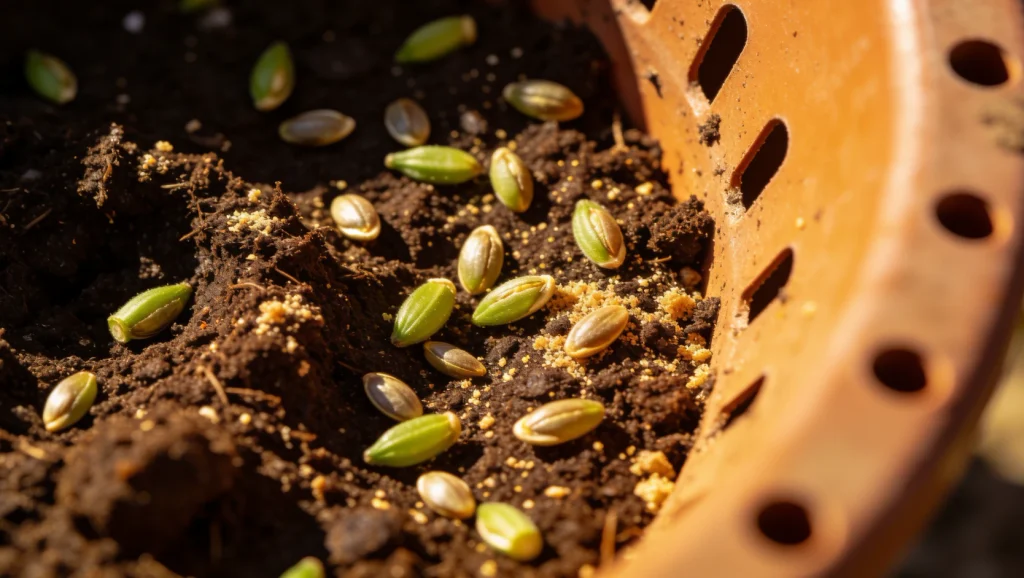
Most okra varieties grow 3–6 feet tall, with some reaching 7 feet in prime heat. For containers, look for compact or moderately tall types with strong branching and consistent pod set.
- Clemson Spineless (heirloom): The most widely grown variety. 4–5 ft tall, smooth pods, reliable yields. Great general choice.
- Annie Oakley II (hybrid): Compact plants, early production. Often recommended for containers due to shorter stature.
- Burgundy (heirloom): Ornamental red stems and pods; similar growth to Clemson but adds color and edible beauty.
- Jambalaya (hybrid): Early and productive, compact habit; popular among container gardeners.
- Baby Bubba (hybrid): Specifically bred for containers and small spaces; very compact plants.
Tip on selection: If your summers are very hot (upper 90s to low 100s), most varieties will thrive; in shorter seasons or cooler summers, choose early and compact cultivars to ensure harvest before fall.
Choosing the Right Container
Okra forms a substantial taproot with a supportive lateral root system. Skimping on pot size leads to stress, reduced yields, and frequent wilting.
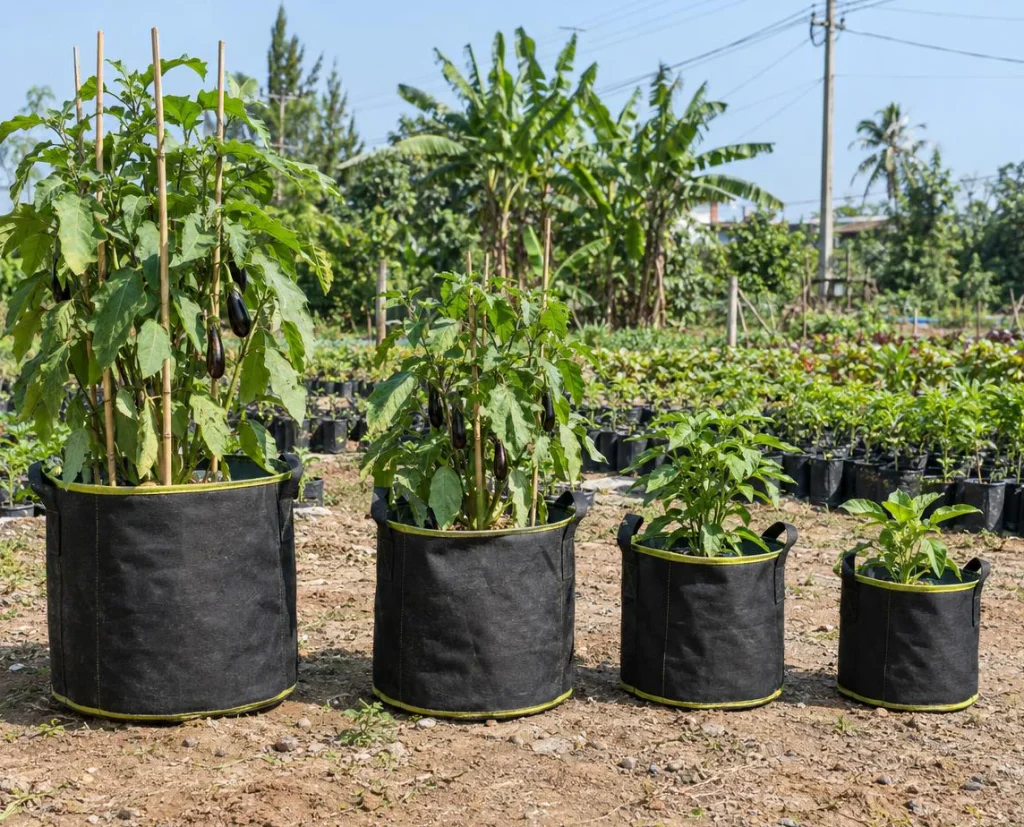
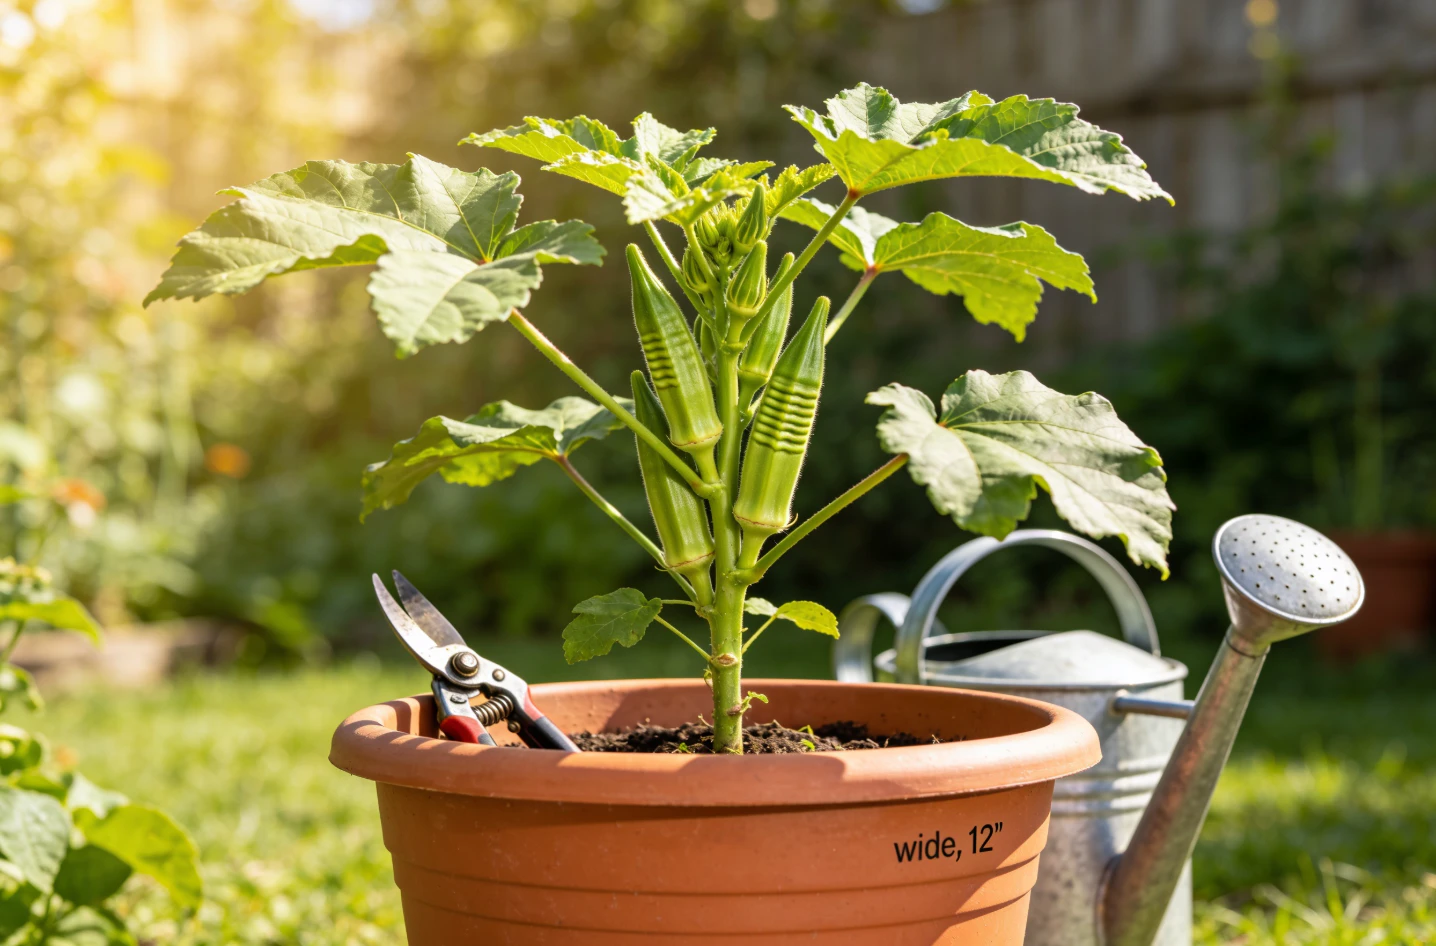
- Minimum size: One okra plant per 5–7 gallon pot (12–14″ diameter; 12″+ deep). Bigger is better in hot climates (up to 10 gallons).
- Material: Food-safe plastic and resin retain moisture; fabric grow bags drain well and promote air pruning; glazed ceramic stays cooler but is heavy. Avoid untreated wood that may rot.
- Drainage: Ensure at least 3–5 drainage holes. Elevate pots slightly on feet or bricks to prevent water pooling.
- Color and heat: Dark pots warm quickly but can overheat roots; in very hot regions, consider light-colored containers or shade the pot sides.
Gardening tip: If wind is an issue on a balcony, choose a wider, heavier pot, or add a layer of gravel at the bottom (below the drainage holes are still clear) to add stability. Don’t add a “drainage layer” of rocks inside the root zone; it can worsen water distribution. Instead, use a uniform potting mix and ensure good external drainage.
Potting Mix: The Foundation for Success
Garden soil compacts in containers and can harbor pests and diseases. Use a high-quality potting mix designed for vegetables.
- Ideal blend: A peat- or coir-based mix with perlite or pumice for drainage, plus 15–25% compost by volume for nutrients and microbial life.
- pH target: Slightly acidic to neutral, roughly 6.0–6.8. Most commercial potting mixes fall in this range.
- Pre-charge nutrients: Mix in a slow-release, balanced organic fertilizer at planting, as per label rates. Okra isn’t a heavy feeder but appreciates steady nutrition.
Moisture management: Coir-based mixes hold moisture well without becoming soggy; add extra perlite if your climate is humid and rainy. In very dry climates, a small amount of vermiculite or additional compost can help retain moisture.
When and How to Plant Okra in Pots
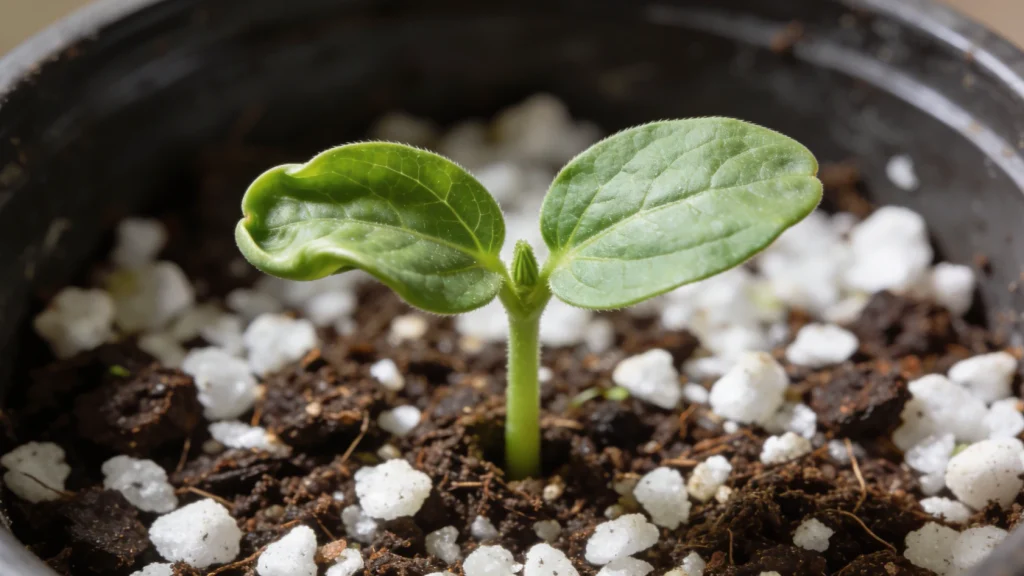
Okra hates cold. Plant after your last frost when nights are reliably above 60°F and the potting mix is warm. In most of the U.S., that’s late spring to early summer. In warm zones (8b–10), you can plant earlier, and in the hottest zones, a mid-summer planting can still produce a fall crop.
Starting from Seed
Okra seeds are large and germinate best in warm soil. You can direct-sow into the final container or start in small pots and transplant carefully.
- Pre-soak seeds (optional): Soak seeds in room-temperature water for 6–12 hours to speed germination.
- Fill container: Moisten potting mix thoroughly, then fill the container, leaving 1–2″ headspace for watering.
- Sow: Plant 2–3 seeds in the center of each pot at 1/2 to 3/4 inch deep. Cover lightly and firm.
- Warmth: Keep the container in a warm, sunny spot (or use a heat mat under small nursery pots). Ideal germination: 75–95°F.
- Thin: After seedlings have 2–3 true leaves, thin to one strongest plant per pot by cutting extras at the soil line.
Transplanting Seedlings
Transplants can give you a head start, but okra resents root disturbance.
- Age: Choose seedlings with 2–4 true leaves, not root-bound. Younger plants transplant better.
- Harden off: Acclimate seedlings outdoors for 5–7 days, increasing sun exposure gradually.
- Planting: Make a hole just large enough for the root ball; plant at the same depth as in the nursery pot. Water in gently.
Important: Avoid cold snaps below 55–60°F at night after transplanting. Cool stress can stall growth for weeks.
Sunlight, Heat, and Placement
Okra needs sun to flower and fruit well.
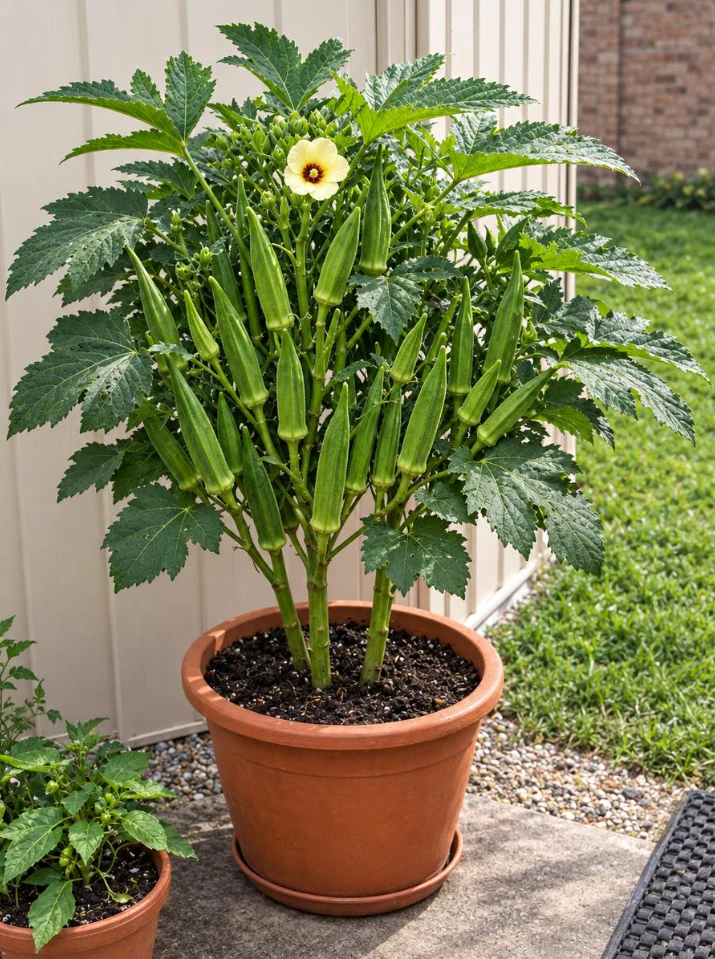
- Daily sun: Aim for 8+ hours of direct sunlight. Morning and midday sun are ideal; some late-afternoon shade can help prevent pot overheating in the Deep South or desert Southwest.
- Heat: Growth is vigorous in 75–95°F. Okra tolerates higher temps if roots stay moist. Below 65°F, growth slows significantly.
- Microclimates: South-facing walls, reflected heat from light surfaces, and sheltered patios boost warmth. Ensure airflow to reduce fungal issues.
Watering Okra in Containers
Consistent moisture is key. Containers dry out faster than garden beds, especially in wind and heat.
- Frequency: Water when the top 1–2 inches of soil are dry. In summer, this might be every 1–3 days depending on container size, weather, and potting mix.
- Method: Water deeply until excess runs from the drainage holes. Empty saucers after 30 minutes to prevent root rot.
- Mulch: A 1–2″ layer of straw, pine needles, or shredded leaves helps reduce evaporation and keeps soil cooler.
- Hard water/salts: Periodically water until heavy runoff to flush built-up salts, especially if using liquid fertilizers.
Related: How to Grow Bell Peppers in Pots: A Complete Beginner’s Guide to Fast Results
Gardening tip: In a heatwave, morning watering followed by a light afternoon check is wise. If leaves droop mid-day but perk up in the evening, the plant is likely coping with heat. Persistent droop morning and evening signals a need for more water or a larger pot.
Feeding and Fertilizing
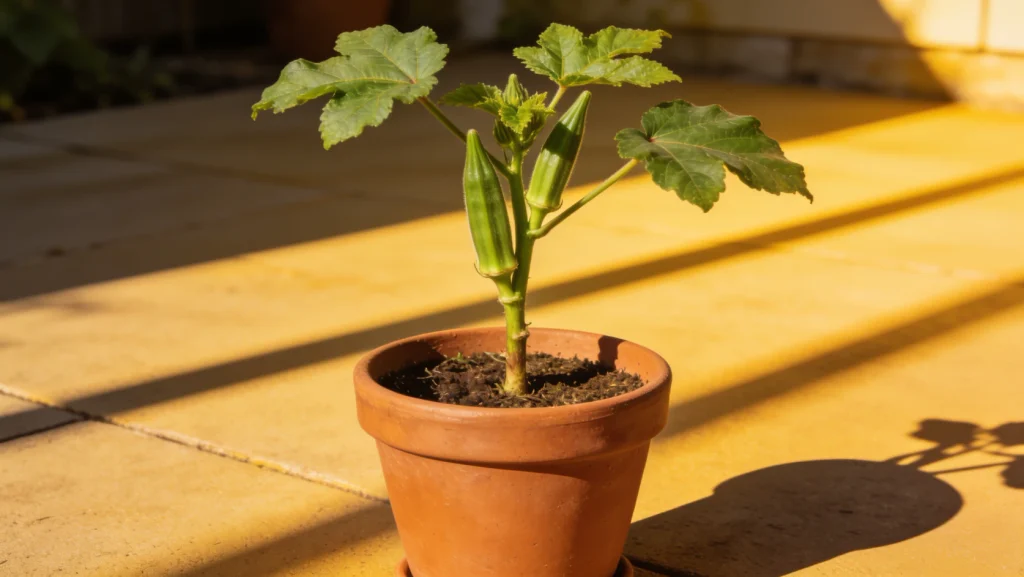
Okra appreciates steady, moderate nutrition. Avoid heavy nitrogen, which can cause tall, leafy plants with few pods.
- Base nutrition: Mix in a slow-release, balanced fertilizer at planting (e.g., 4-4-4 or 5-5-5) per label.
- Side-dress schedule: Once plants begin to bud and flower, feed every 3–4 weeks with a balanced or bloom-leaning fertilizer, or water in a diluted liquid feed (e.g., fish/seaweed at half strength).
- Signs of imbalance: Excess N = lush leaves, low pods; deficiency = pale leaves, slow growth. Adjust with a more balanced or slightly higher potassium product if needed.
Staking, Pruning, and Plant Care
Some okra varieties develop thick main stems and stand well on their own; others benefit from simple support.
- Staking: Insert a 3–4 ft stake at planting for compact types or 5–6 ft for taller varieties. Tie loosely as the plant grows.
- Pruning: Not required, but removing the lowest 2–3 leaves once the plant is established improves airflow in humid climates and reduces splash-back during watering.
- Topping for branching: In long seasons and for certain varieties, you can pinch the growing tip at ~3–4 ft to encourage side branches and potentially increase pod set in a container. Do this only on vigorous plants in large pots.
Companion Planting in Pots
Companions can share a large container or sit in nearby pots.
- Basil and flowers: Pollinator-friendly flowers like marigolds and zinnias in adjacent pots can attract beneficial insects.
- Avoid overcrowding: Skip sharing a single pot with other heavy feeders. One okra per container yields best.
- Herbs nearby: Basil, thyme, and oregano in separate small pots are low demand and encourage bees.
Common Pests and Diseases
Container okra tends to have fewer issues than in-ground plantings, but monitoring is essential. Early detection is the best control.
| Symptom | Possible Cause | What to Check | Recommended Action |
|---|---|---|---|
| Sticky leaves, honeydew, ants | Aphids | Leaf undersides, new growth | Rinse with water; use insecticidal soap or neem oil. Control ants that farm aphids. |
| Silvery stippling, fine webbing | Spider mites | Hot, dry weather; leaf undersides | Increase humidity around plants; rinse foliage; apply miticidal soap or horticultural oil as labeled. |
| Holes in leaves, green caterpillars | Caterpillars | Chewed edges; frass (droppings) | Handpick; use Bt (Bacillus thuringiensis) on young larvae per label. |
| Chewed pods, small brown bugs | Stink bugs | Pods and stems | Handpick into soapy water; use row cover early; encourage predators. |
| Yellowing, wilting, stunted | Root rot or overwatering | Drainage holes, soil saturation | Improve drainage; allow partial dry-down; repot if severe. |
| Leaf spots, mildew | Fungal disease | Humid, crowded canopy | Improve airflow; water at soil level; remove affected leaves; consider fungicide labeled for edibles if needed. |
Preventive practices: Water at the base, keep foliage dry, space plants for airflow, clean up fallen debris, and rotate containers to new potting mix each season if disease was present.
Okra Flowering and Pollination
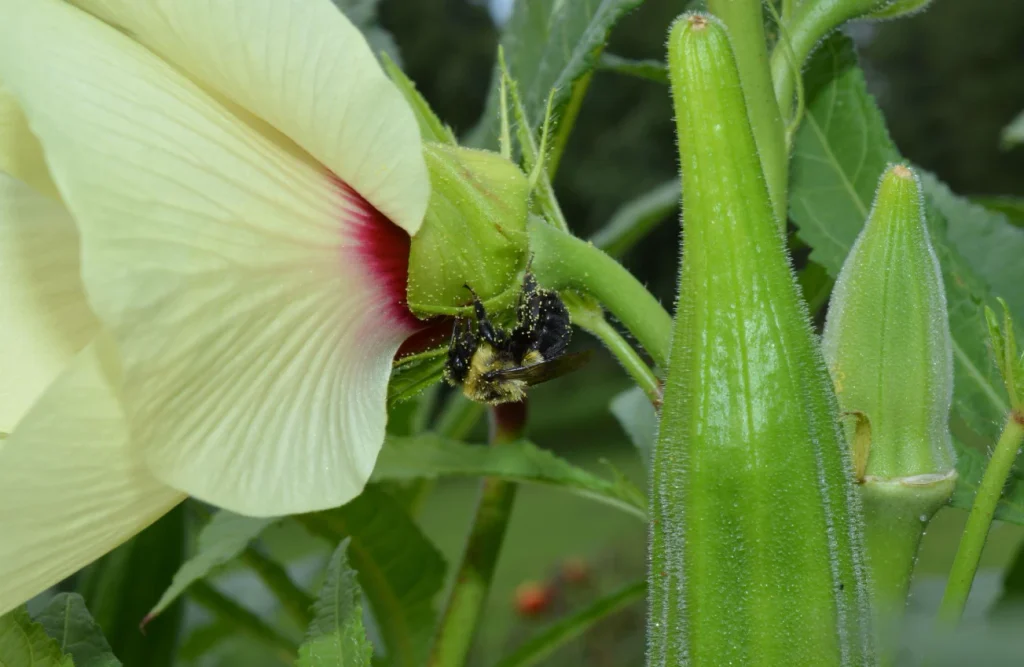
Okra flowers are hibiscus-like, typically pale yellow with a dark center, and open for a single day. Pollination is usually not a limiting factor; even light breeze helps, but bees and other pollinators boost consistent pod set. Keeping nearby blooms and avoiding broad-spectrum insecticides during flowering supports pollinator health.
Harvesting: Timing Is Everything
Pods grow quickly. Tenderness drops rapidly as pods enlarge and toughen. Frequent picking is key to quality and productivity.
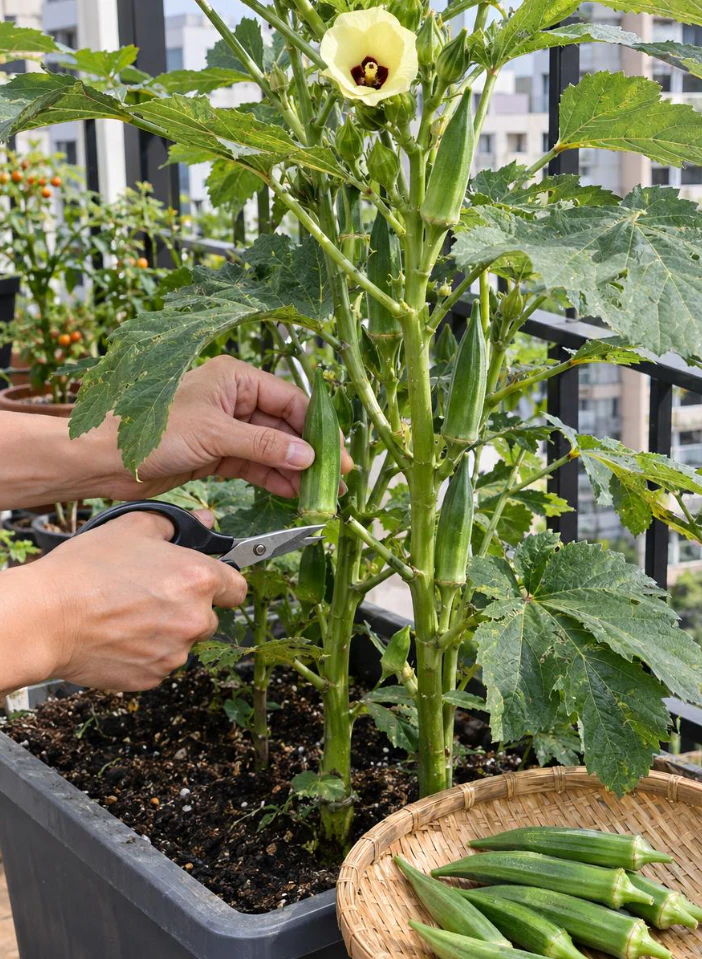
- Ideal size: Most green varieties are best at 2–4 inches long; some red types can go to 4–5 inches. Check your seed packet for variety-specific guidance.
- Frequency: During peak heat, check plants daily. Pods can go from perfect to fibrous in 24–48 hours.
- Technique: Use pruners or a sharp knife to cut just above the cap; pulling can damage branches.
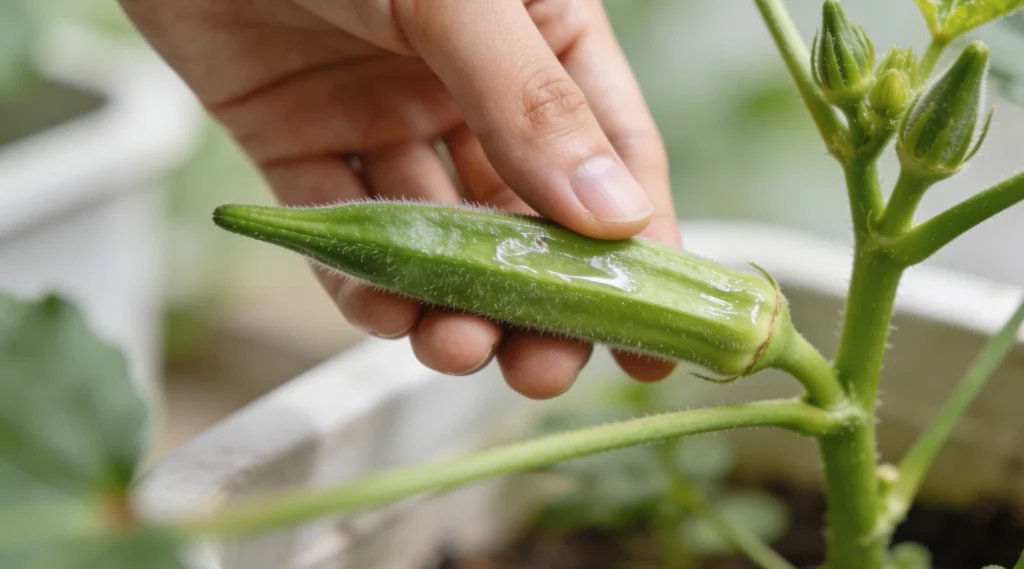
- Safety: Some varieties have tiny spines that can irritate skin. Wear garden gloves and long sleeves if needed.
- Storage: Refrigerate unwashed pods in a paper bag or perforated container for 2–4 days. For longer storage, blanch and freeze or slice and dehydrate.
Yield note: A single well-grown plant in a 7–10 gallon container can produce a steady handful of pods several times a week once peak production starts, especially if harvested diligently.
Season-Long Care: Keeping Plants Productive
As summer progresses, container-grown okra may show signs of nutrient depletion or salt buildup.
- Midseason refresh: Scratch 1–2 tablespoons of a balanced organic fertilizer into the top inch of soil and water in, or apply a diluted liquid feed.
- Salt flush: Once a month, water heavily to flush excess salts through the drainage holes.
- Leaf cleanup: Remove yellowing or damaged leaves to reduce disease pressure and improve airflow.
- Heat stress: In extreme heat (100°F+), provide brief late-afternoon shade and ensure consistent moisture.
Regional and Seasonal Considerations (U.S.)
- Cool-summer regions (Pacific Northwest, Northern New England, Upper Midwest): Choose early, compact varieties; use black or dark pots to warm soil; start seeds indoors 3–4 weeks before planting and transplant gently after frost.
- Hot, arid regions (Desert Southwest): Larger containers (7–10 gallons) hold moisture better; mulch heavily; consider light-colored pots or shade cloth during late afternoons.
- Humid Southeast and Gulf Coast: Space pots for airflow; water at soil level; monitor closely for mites, aphids, and fungal leaf spots; pick frequently to stay ahead of fast growth.
- High elevations: Use a warm, protected spot; extend the season with a cold frame or row cover early and late; focus on early-maturing cultivars.
Troubleshooting Guide
| Problem | Likely Cause | Fix |
|---|---|---|
| Lots of leaves, few pods | Too much nitrogen; not enough sun | Switch to balanced or higher K fertilizer; move to a sunnier location. |
| Pods tough and stringy | Picked too late; inconsistent watering | Harvest at 2–4″; pick more frequently; keep soil evenly moist. |
| Plants stunted, pale | Cold stress; poor nutrition; compacted mix | Wait for warmer temps; feed lightly; repot with fresh, airy potting mix if root-bound. |
| Leaves curled, sticky residue | Aphids | Rinse; insecticidal soap; control ants; encourage beneficials. |
| Speckled leaves with fine webbing | Spider mites in hot, dry weather | Spray undersides with water; apply horticultural oil or miticidal soap; increase humidity. |
| Sudden wilt, soggy soil | Root rot from overwatering/poor drainage | Let soil dry to 1–2″ deep between waterings; ensure strong drainage; consider repotting. |
Step-by-Step: Planting to First Harvest
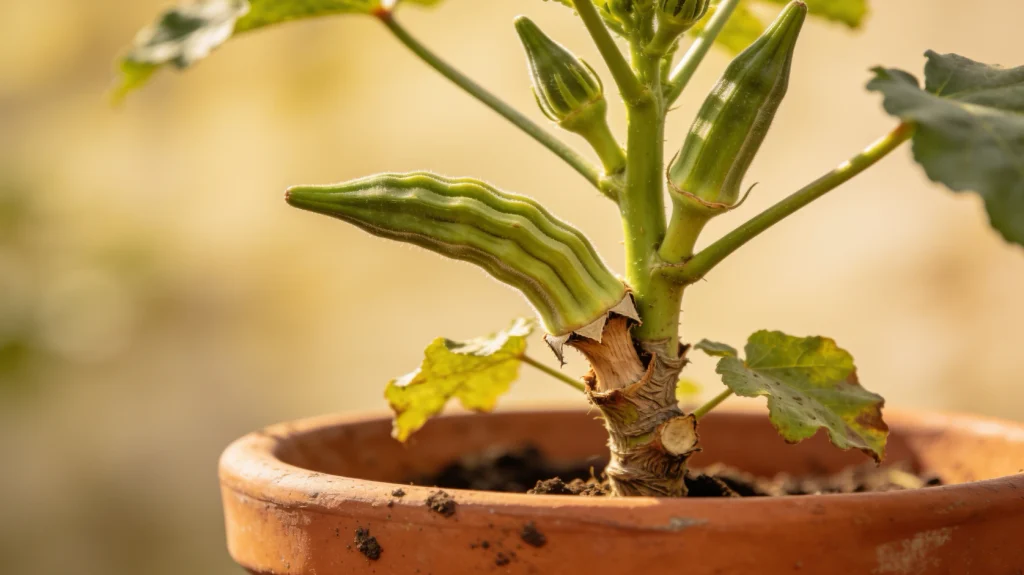
- Pick a pot: 5–7+ gallon container with multiple drainage holes. Clean it before use.
- Prepare mix: Fill with quality potting mix amended with 15–25% compost and slow-release fertilizer. Moisten evenly.
- Sow seeds: Plant 2–3 seeds 1/2–3/4″ deep in the center. Keep warm (75–95°F). Thin to one plant when true leaves appear.
- Place for sun: Set pot where it gets 8+ hours of direct sunlight daily. Stake if variety is tall.
- Water right: Water when top 1–2″ are dry. Mulch to conserve moisture.
- Feed moderately: Once budding begins, feed lightly every 3–4 weeks.
- Scout weekly: Check leaf undersides for pests; act early with soap or oils as needed.
- Harvest young: Start picking at 2–4″ length. Harvest every 1–2 days during peak flushes.
Growing Okra Indoors or in Greenhouses
Okra can grow in a sunny greenhouse or sunroom if temperatures stay warm and there’s strong light.
- Light: Near a south-facing window for 8+ hours or supplement with a full-spectrum grow light positioned 12–18″ above the canopy for 14–16 hours daily.
- Pollination: Gently tap flowers or use a soft brush to move pollen if insect activity is minimal indoors.
- Heat: Maintain 70–85°F. Avoid cold drafts.
End-of-Season Care and Replanting
Okra is frost-sensitive. As days shorten and nights cool in fall, production slows.
- Final harvest: Pick remaining pods at usable size.
- Plant disposal: Remove and compost healthy plants; discard diseased material in the trash.
- Potting mix: If no disease problems occurred, you can reuse the mix by removing old roots, blending in fresh compost (20–30%), and supplementing perlite for drainage. If disease or heavy pest pressure was an issue, replace with fresh mix.
Cooking and Using Your Okra
Fresh, young okra shines in quick sautés, stir-fries, and grills. For gumbo or stews, okra naturally thickens liquids due to mucilage slicing and briefly sautéing first can mellow the texture. To reduce sliminess in quick dishes, cook at high heat or keep pods whole. Okra also freezes and dehydrates well for year-round use.
Frequently Asked Questions
How many okra plants can I grow in one pot?
Grow one plant per 5–7+ gallon pot. Crowding two plants into a single medium pot usually reduces airflow, increases water stress, and cuts yield per plant. If your container is very large (e.g., 15–20 gallons), two plants can work with careful watering and staking, but most home growers get better results with one strong plant per pot.
Why is my container okra flowering but not producing pods?
Common reasons include insufficient sun (<8 hours), heat or drought stress, or too much nitrogen leading to foliage over flowers. Move the pot to full sun, keep soil evenly moist, and switch to a balanced or slightly higher-potassium fertilizer. Ensuring pollinators are present (or gently tapping flowers) can help, though okra typically sets fruit readily.
Can I grow okra on a shaded balcony?
Okra needs abundant direct sunlight ideally 8+ hours daily. With only 4–5 hours, the plant may survive but produce few pods. If shade is unavoidable, choose the sunniest spot, use reflective surfaces to increase light, and consider compact, early varieties like Baby Bubba or Jambalaya.
How tall will okra get in a pot?
Height depends on the variety and container size. Compact container types may stay around 2–4 feet; standard varieties like Clemson Spineless often reach 4–5 feet in a large pot under warm, sunny conditions. Stake taller plants to prevent wind damage.
Why are my pods tough even when they’re small?
Heat and water stress can toughen pods early. Pick promptly at 2–4 inches, water consistently, and avoid letting the potting mix dry out completely. Some varieties also toughen faster than others try compact, tender types if this persists.
Do I need to hand-pollinate okra in containers?
Usually no. Okra self-pollinates readily and is visited by bees. If you’re growing indoors or in a low-pollinator area, gently tap flowers or use a small, soft brush to move pollen within the flower mid-morning on the day it opens.
Conclusion: Container Okra, Made Simple
To successfully grow okra in pots, think big on sun and container size, and steady on water and nutrients. A single well-cared-for plant can keep you in tender pods for skillet fries, curries, and stews all summer. Choose a compact, productive variety, give it 8+ hours of sun, keep the potting mix evenly moist, and harvest pods young and often. With these fundamentals, your patio okra can quickly become one of the most satisfying crops in your container garden.