How to Grow Bell Peppers in Pots: A Complete Beginner’s Guide to Fast Results
Growing bell peppers in pots is absolutely doable even if you only have a balcony or sunny stoop. The essentials are simple: give peppers enough warmth, sun, a large enough container, and consistent moisture and feeding. This guide walks you through pot size, soil, planting, care, and troubleshooting so you can pick crisp, colorful peppers all summer.
- Bell Pepper Basics for Containers
- Best Pot Size, Material, and Setup
- Soil and Fertilizer: What to Fill Your Pot With
- When and How to Plant Bell Peppers in Pots
- Sun, Temperature, and Placement
- Watering and Mulching in Containers
- Staking, Pruning, and Flower Management
- Pollination, Fruit Set, and Common Problems
- Fertilizing Schedule at a Glance
- Climate Notes for the U.S.
- Harvesting and Using Your Peppers
- Troubleshooting Quick Guide
- Growing Bell Peppers from Seed in Pots (Optional)
- Frequently Asked Questions
- Conclusion: Small Space, Big Flavor
Bell Pepper Basics for Containers
Bell peppers are warm-season vegetables that love heat and sun. In containers, they need:
- Full sun: 6–8+ hours daily
- Warmth: Night temperatures consistently above 55–60°F; avoid cold drafts.
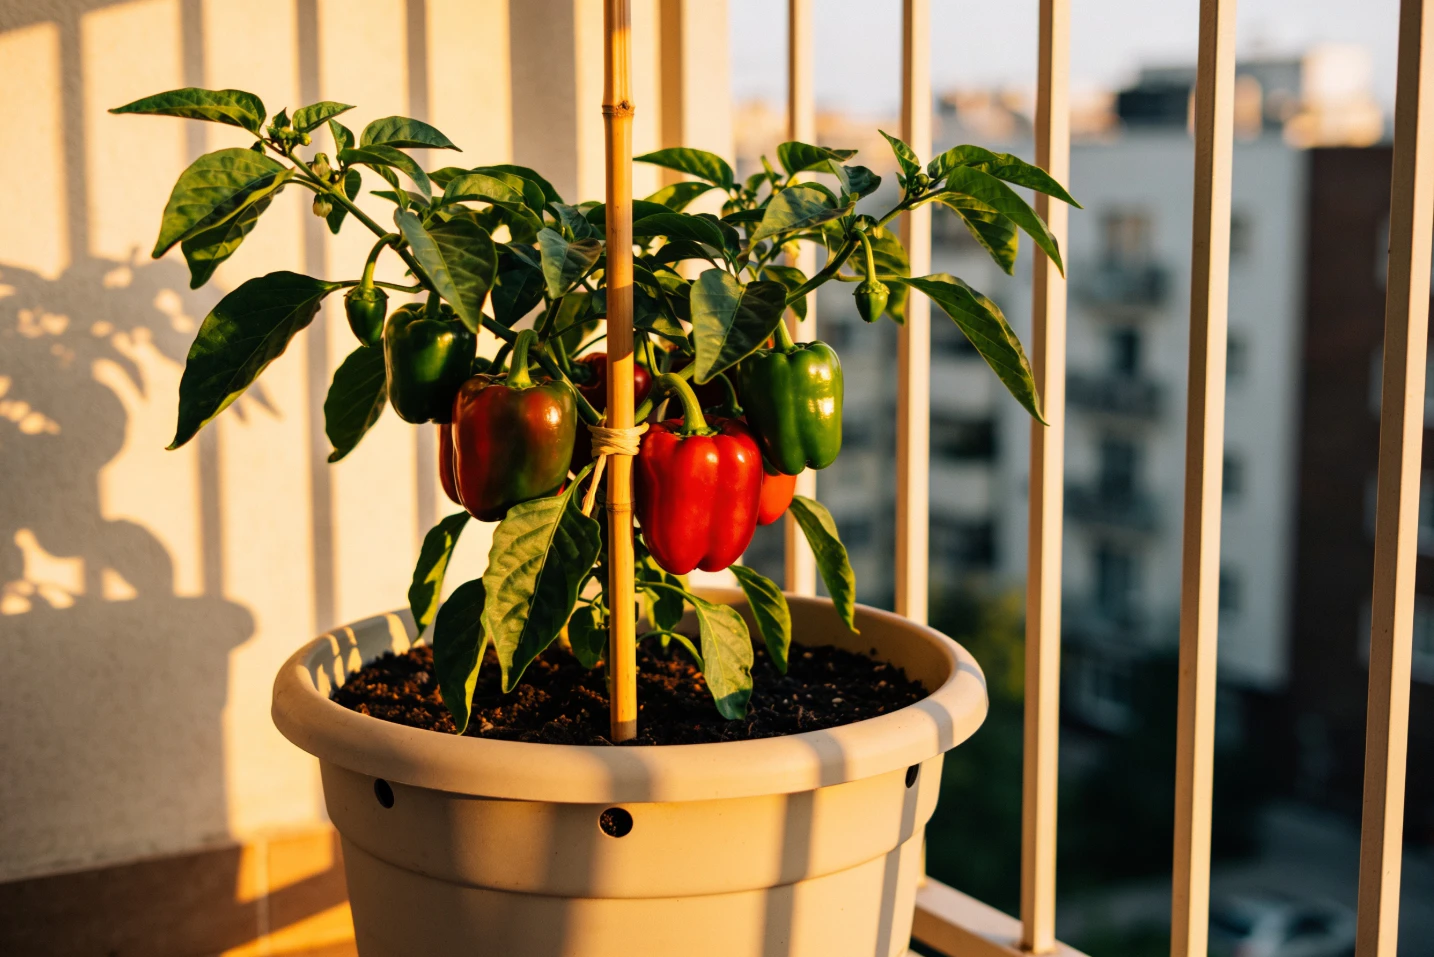
- Space: At least a 5-gallon pot per plant; bigger is better.
- Consistent moisture and nutrients: Well-draining potting mix, regular watering, and balanced feeding.
Quick answer: Use a 5–10 gallon container with drainage, fill it with high-quality potting mix plus slow-release fertilizer, plant a sturdy transplant after the danger of frost, place it in 6–8+ hours of sun, water deeply when the top inch is dry, and feed every 2–4 weeks. Stake early and harvest peppers when firm and glossy.
Best Pot Size, Material, and Setup
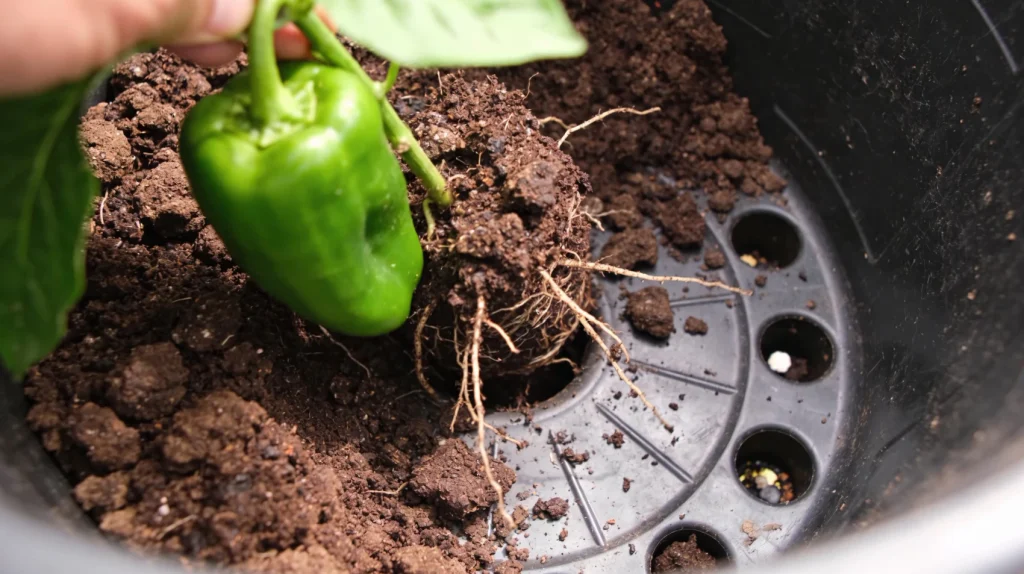
Container Size
- Minimum: 5 gallons (roughly 12 inches wide and deep) for one plant.
- Ideal: 7–10 gallons for better moisture retention, root space, and yield.
- Color and heat: Dark pots warm faster in spring but can overheat in midsummer; light-colored pots reflect heat.
Pot Material
- Plastic/resin: Lightweight and retains moisture well great for hot, dry climates.
- Glazed ceramic: Attractive and stable, but heavy; ensure multiple drainage holes.
- Fabric grow bags: Excellent drainage and root aeration; may require more frequent watering.
- Terracotta: Breathable but dries out quickly; line with plastic with drainage holes or water more often.
Drainage and Saucers
- Essential: 3–5 drainage holes at least 1/2 inch wide; more is fine.
- Saucers prevent mess, but don’t let pots sit in water. Empty excess water after watering.
- Pot feet improve drainage and airflow on patios.
Soil and Fertilizer: What to Fill Your Pot With
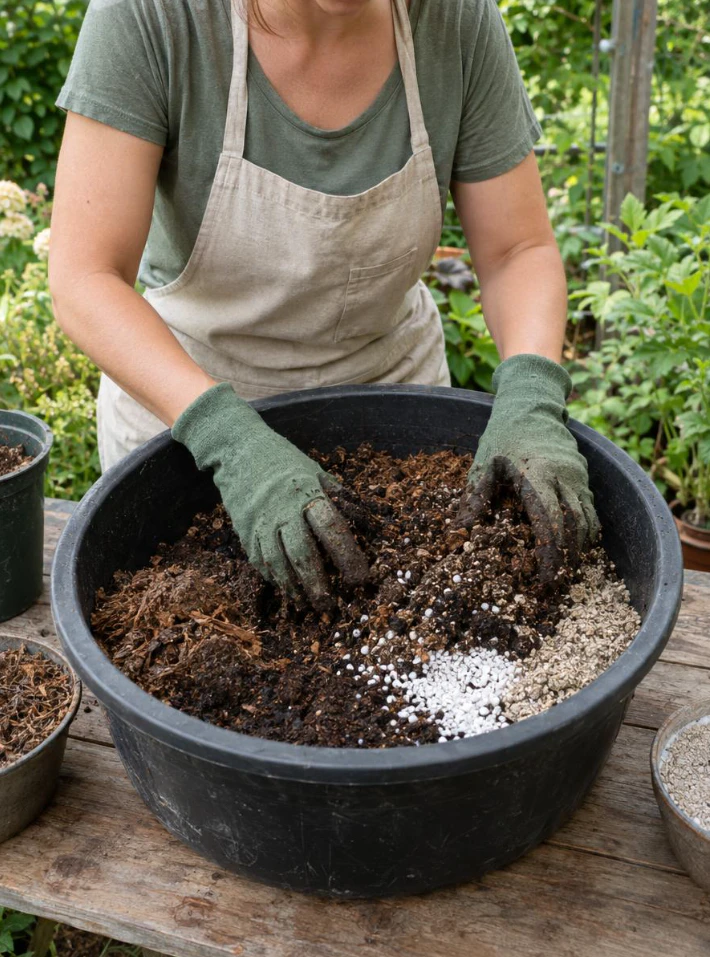
Potting Mix, Not Garden Soil
- Use a high-quality soilless potting mix. Garden soil compacts in containers and can harbor pests.
- Look for ingredients like peat or coco coir for water retention, perlite or pumice for drainage, and composted bark for structure.
Baseline Nutrition
- Before planting, blend in a slow-release, balanced fertilizer (such as 5-5-5 to 10-10-10) according to label directions.
- Optionally, mix 10–20% finished compost into the potting mix for microbial life and micronutrients. Don’t overdo compost in containers because too much can reduce drainage.
In-Season Feeding
- At first flowers, start supplemental feeding every 2–4 weeks with a balanced or slightly higher-potassium fertilizer, such as 5-5-5, 3-1-4, or a tomato and vegetable formula. Follow label rates for container use.
- Avoid excess nitrogen, which can cause lush leaves but few peppers.
- Add calcium if your water or soil is low in it to help reduce blossom-end rot risk. Many tomato and vegetable fertilizers include calcium.
When and How to Plant Bell Peppers in Pots
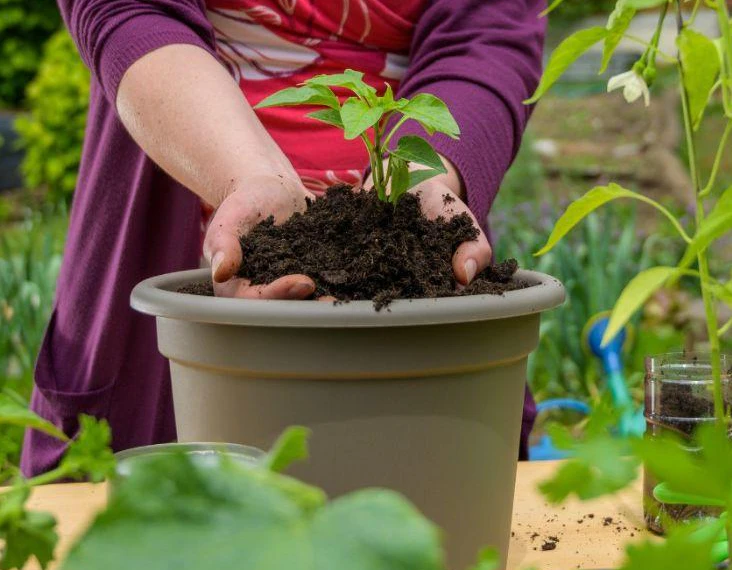
Timing
- Transplant outdoors after your last expected frost date and when nights stay above 55–60°F. Cold stress can stunt peppers.
- In cooler regions, start with sturdy nursery transplants rather than seeds to save time.
Choosing Varieties for Containers
- Compact or early varieties are great for pots. Look for “compact,” “bush,” or “patio” in descriptions.
- Green peppers are immature; red, yellow, and orange peppers are mature stages that take longer but taste sweeter.
- Examples often suited to containers include ‘California Wonder’ (standard), ‘King of the North’ (cooler climates), ‘Gypsy’ (productive, tapered), and mini bell types for small spaces.
Planting Steps
- Fill the pot with pre-moistened potting mix, leaving 2 inches of headspace.
- Make a hole the size of the transplant root ball. Plant the pepper at the same depth it grew in its original pot. Unlike tomatoes, don’t bury the stem.
- Water thoroughly to settle the roots.
- Add a 1–2 inch layer of organic mulch, such as shredded leaves or straw, to reduce evaporation and soil splash.
- Place the container in full sun and protect it from strong, cold winds.
Sun, Temperature, and Placement
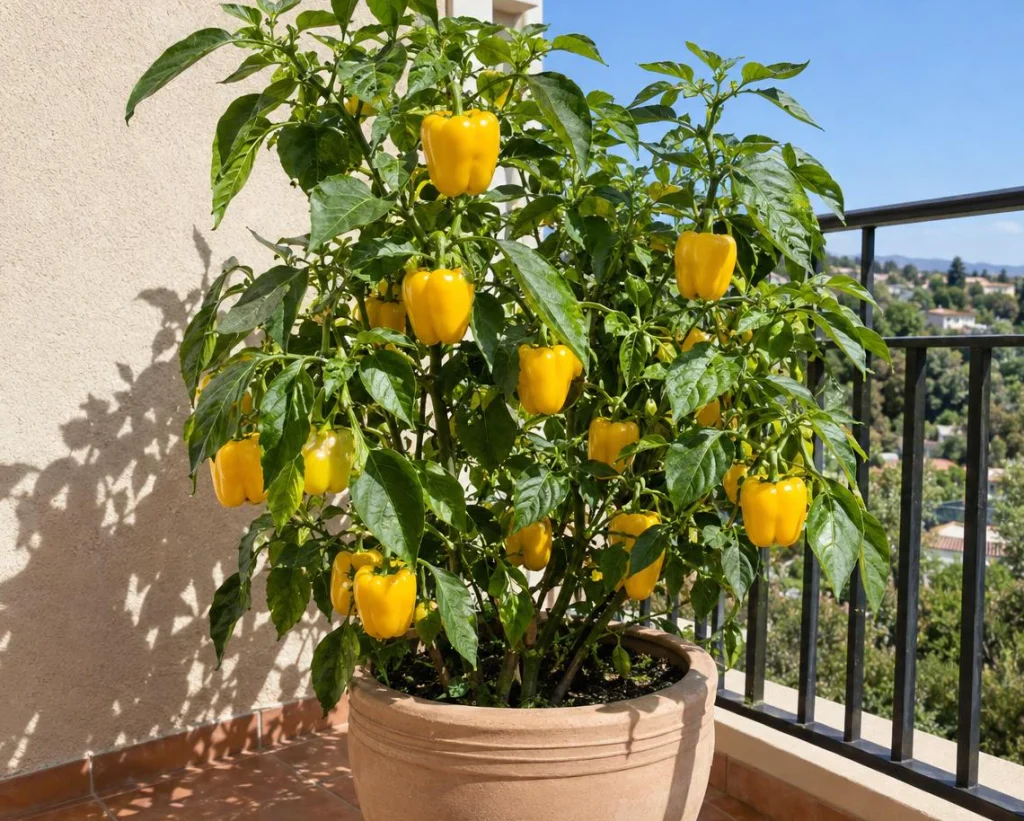
- Sunlight: Aim for 8 hours if possible. Less than 6 hours will reduce yields.
- Heat: Daytime temperatures of 70–85°F are ideal. Shade cloth (30%) can help in extreme heat above 95°F to reduce blossom drop.
- Night: Below about 55°F, growth slows; below about 50°F can damage plants. Move pots near warm walls or indoors on cold nights.
- Air movement: Good airflow reduces disease, but avoid constant strong wind that dries and stresses plants.
Related: Balcony to Backyard: 18 Fruit Trees You Can Grow Anywhere!
Watering and Mulching in Containers
Consistent moisture is one of the biggest keys to container pepper success. Irregular watering can cause blossom drop, cracking, and blossom-end rot.
How Much and How Often
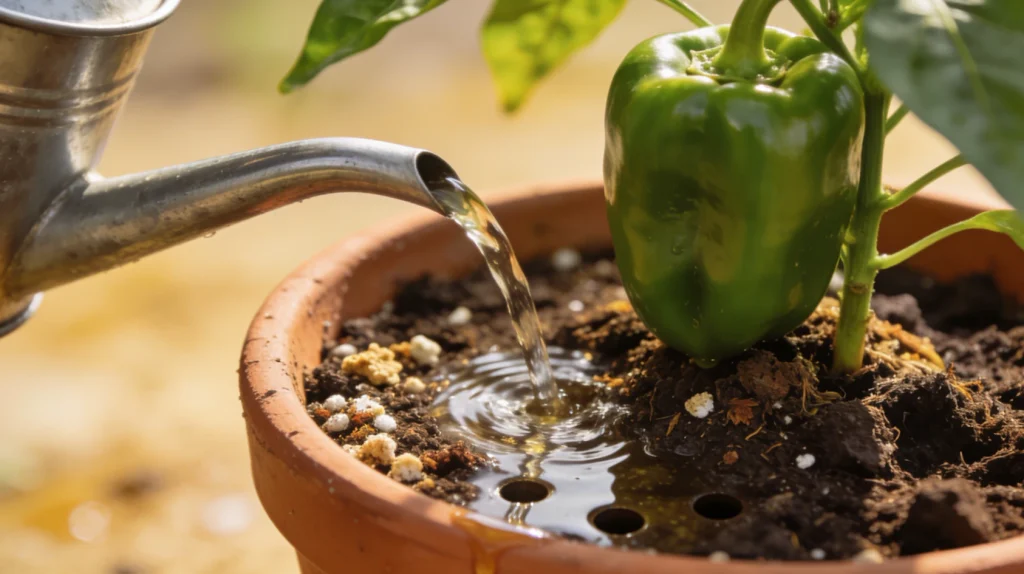
- Check daily in warm weather. Water when the top inch of potting mix is dry.
- Water deeply until excess drains from the holes. Don’t just dampen the surface.
- In midsummer, large pots may need watering once daily; smaller or fabric pots may need more. In cooler weather, every 2–3 days may suffice.
Mulch Matters
- Use 1–2 inches of straw, shredded bark, or leaf mold to keep moisture stable and reduce weeds.
- Keep mulch a finger-width away from stems to prevent rot.
Staking, Pruning, and Flower Management
Support Early
- Insert a stake or small tomato cage at planting so roots aren’t disturbed later.
- Tie stems loosely with soft ties as the plant grows, especially for heavy-fruiting varieties.
Pruning
- Light pruning can improve airflow. Remove low, inward-growing shoots if the canopy is dense.
- In short seasons, pinching the first one or two flowers may help the plant grow more leaves before producing a heavy crop. This is optional, not required.
Pollination, Fruit Set, and Common Problems
Pollination in Pots
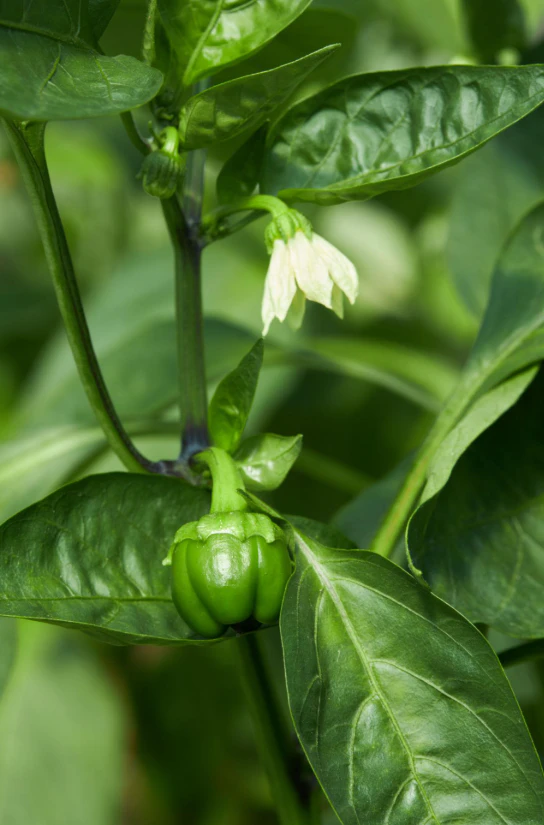
Peppers are largely self-pollinating. Gentle shaking of the plant or tapping flower clusters can help if there’s little wind or insect activity.
Common Problems and Fixes
- Blossom drop: Often caused by temperature extremes or drought and overwatering. Keep moisture steady and provide light shade in extreme heat.
- Blossom-end rot: Dark, sunken areas on the fruit’s end are linked to calcium uptake issues, often associated with inconsistent watering. Maintain even moisture and use a balanced fertilizer with calcium.
- Yellowing leaves: Could indicate overwatering, nutrient deficiency, or natural aging of lower leaves. Check drainage and feed as needed.
- Sunscald: White, papery patches on exposed peppers result from intense sun. Keep foliage healthy and provide temporary shade during heatwaves.
Pests and Diseases in Containers
- Aphids and whiteflies: Rinse them off with water; use insecticidal soap or horticultural oil as labeled.
- Spider mites: Increase humidity, rinse the undersides of leaves, and use miticide soaps or oils as directed.
- Pepper weevils: These are regional pests. Hand removal is difficult; use good sanitation and consider row cover when feasible. Check local extension guidance.
- Fungal spots (Alternaria, Cercospora): Improve airflow, avoid wetting leaves late in the day, remove affected leaves, and consider copper or other fungicides as labeled.
Tip: Always read and follow pesticide labels. For edible crops, choose products labeled for use on peppers and observe pre-harvest intervals.
Fertilizing Schedule at a Glance
- At planting: Mix in slow-release, balanced fertilizer.
- After flowering begins: Feed every 2–4 weeks with liquid or water-soluble vegetable fertilizer.
- Midseason boost: If growth looks pale or slow, a light side-dressing or extra liquid feed may help. Don’t exceed label rates.
Climate Notes for the U.S.
- Cool-summer and coastal areas (Pacific Northwest, Northern New England): Use black or dark pots for warmth, early-maturing varieties, and the warmest, most sheltered site available. Consider starting plants indoors longer and moving them outside later.
- Hot-summer regions (Southwest, Southeast): Use lighter-colored or insulated containers, mulch well, water consistently, and add afternoon shade during heatwaves to reduce flower drop.
- Short-season regions (upper Midwest and Rockies): Prioritize early or compact varieties and consider row cover or a clear cloche early in the season for warmth. Vent the cover on hot days.
Harvesting and Using Your Peppers
- Timing: Green bell peppers can be picked when full-sized and firm. For sweet red, yellow, or orange peppers, leave them on the plant longer to fully ripen.
- How to harvest: Use pruners or a sharp knife to cut the stem; don’t yank the fruit. Leaving a small stem stub reduces rot.
- Yield expectations: In good conditions, each plant can produce multiple peppers over the season. Larger containers and consistent care typically mean more fruit.
- Storage: Refrigerate unwashed peppers in a crisper drawer for 1–2 weeks. For longer storage, chop and freeze them.
Troubleshooting Quick Guide
- No flowers or fruit: Not enough sun, too much nitrogen, or temperature extremes.
- Flowers but no fruit: Heat stress, cool nights, or low pollination. Provide shade during heatwaves and tap flowers gently.
- Leaves curling: Heat, drought, wind, or potential pests such as aphids and mites. Check the undersides of leaves.
- Wilting despite moist soil: Root issues or poor drainage. Ensure adequate drainage holes and avoid waterlogged potting mix.
Growing Bell Peppers from Seed in Pots (Optional)
Starting from seed takes longer but gives you more variety choices.
- Start indoors 8–10 weeks before your last frost date.
- Use a seed-starting mix and keep it at 75–85°F for germination. A heat mat helps. Germination usually takes 7–14 days.
- Provide bright light, using grow lights for 14–16 hours daily to prevent leggy seedlings.
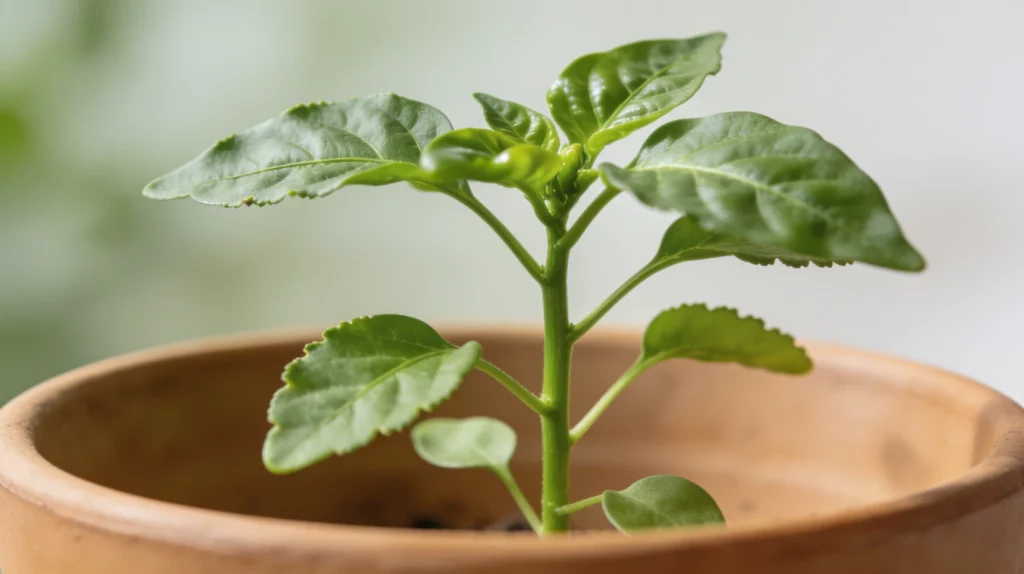
- Transplant to individual 3–4 inch pots once seedlings have 2–3 true leaves. Feed lightly with diluted balanced fertilizer.
- Harden off seedlings for 7–10 days before moving them outside by gradually increasing sun exposure and outdoor time.
Frequently Asked Questions
How big should a pot be for bell peppers?
Use at least a 5-gallon container per plant; 7–10 gallons is better for moisture stability and yield. Bigger pots are more forgiving for beginners.
How often should I water peppers in containers?
Water when the top inch of potting mix is dry, then water deeply until it drains. In hot weather, that could be daily. In cooler periods, it may be every 2–3 days.
Why are my pepper flowers dropping?
Temperature extremes, inconsistent watering, or excessive nitrogen can cause blossom drop. Keep moisture steady and provide light shade during heatwaves above about 95°F.
Do bell peppers need full sun?
Yes—6–8+ hours of direct sun. With less light, plants may grow but produce fewer and smaller fruits.
Can I grow bell peppers indoors?
Yes, with strong grow lights, warm temperatures, and hand pollination, but yields are usually better outdoors. If growing indoors, aim for 12–16 hours of high-intensity light.
How do I prevent blossom-end rot in container peppers?
Maintain even soil moisture, avoid letting plants wilt repeatedly, and use a balanced fertilizer that includes calcium. Both overwatering and underwatering can contribute to the problem.
Conclusion: Small Space, Big Flavor
Bell peppers thrive in containers when you give them sun, warmth, room for their roots, steady water, and regular feeding. Choose a large pot, plant after frost, stake early, and keep conditions consistent. With those basics, your patio can deliver crisp green peppers and sweet, fully ripened red, yellow, and orange peppers through the season.