The Essential Fall Garden Cleanup Checklist: 7 Steps to a Healthier Garden Next Spring
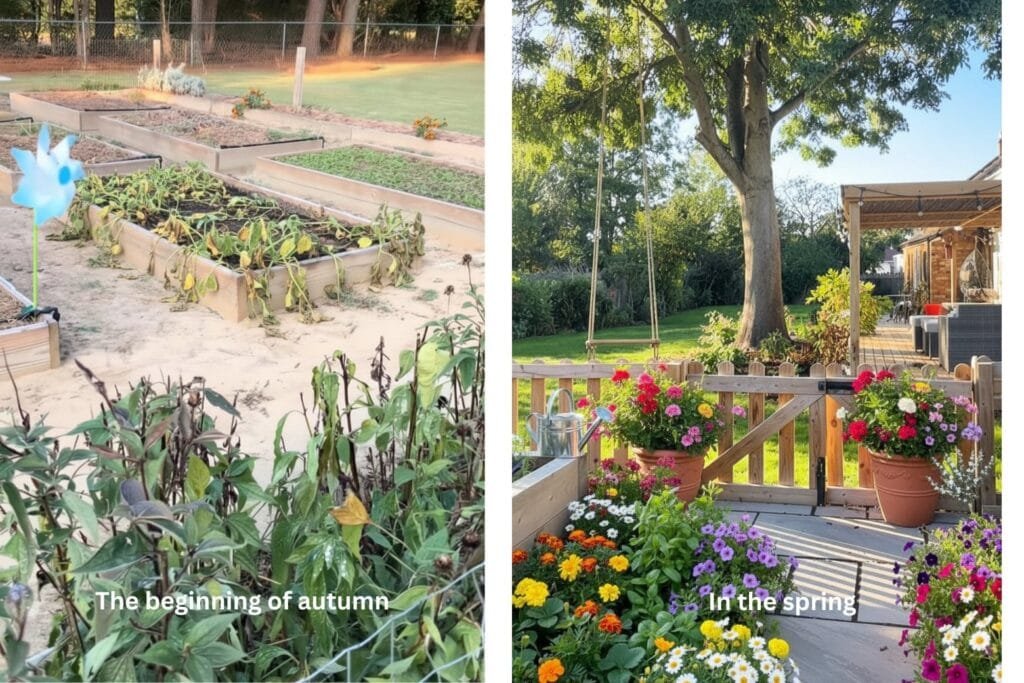
There’s a certain beautiful sadness to a garden in the fall. The vibrant, chaotic colors of summer begin to fade, the leaves on the tomato vines turn a brittle yellow, and there’s a crispness in the air that signals the end of a long, productive season. For years, I used to see this as a sad chore the final, dreary task of admitting defeat against the coming cold.
But I’ve learned to see it differently now. I’ve learned that a fall cleanup isn’t about the end of something; it’s about the beginning of the next. It’s the single most important gift you can give your future self.
In this guide, I’ll walk you through my simple, 7-step checklist for fall cleanup. Think of it as lovingly tucking your garden into a cozy bed for the winter, ensuring it wakes up rested, healthy, and ready to burst with life next spring. This work is the true secret to a successful and less stressful start to the next gardening season.
Why a Fall Cleanup is a Gift to Your Future Self
Before we grab our rakes, it’s important to understand why this process is so much more than just tidying up. Every task we do now pays huge dividends in a few months.
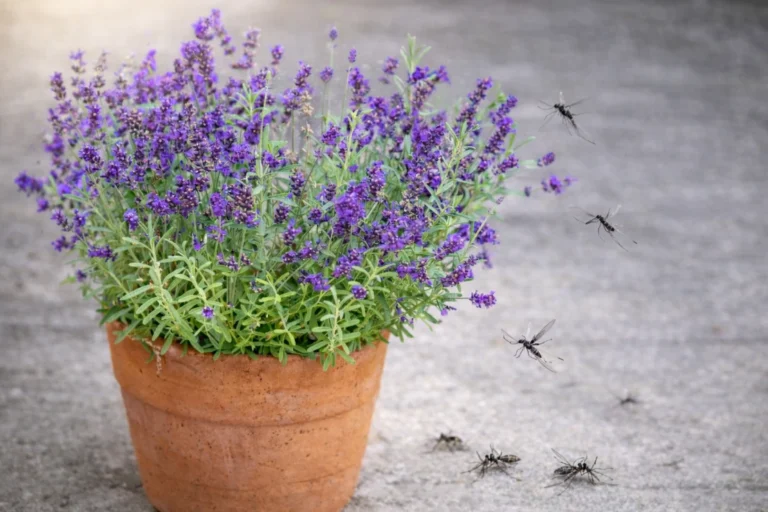
- You’re Preventing Future Pests and Diseases: I learned this the hard way. Old, decaying plant matter and fallen leaves are the perfect five-star hotel for pests to lay their eggs and for fungal diseases (like powdery mildew and blight) to spend the winter, just waiting to re-emerge in the spring. A clean garden is a healthy garden.
- You’re Building Incredible Soil for Next Year: Fall is the absolute best time to amend your soil. Adding compost and other organic matter now allows the winter rain, snow, and earthworms to work their magic, breaking it all down into nutrient-rich soil that will be perfectly ready for spring planting.
- You’re Giving Yourself a Head Start on Spring: Trust me, on that first beautiful spring day, the last thing you’ll want to do is deal with last year’s mess. A clean garden in the fall means you can get straight to the joyful part: planting.
My 7-Step Fall Garden Cleanup Checklist
Here is the simple, manageable process I follow every year to put my garden to rest.
Step 1: The Great Cleanup – Clear Out the Old to Make Way for the New
This is the most satisfying first step. It’s time to say goodbye to the plants that have finished their life cycle.
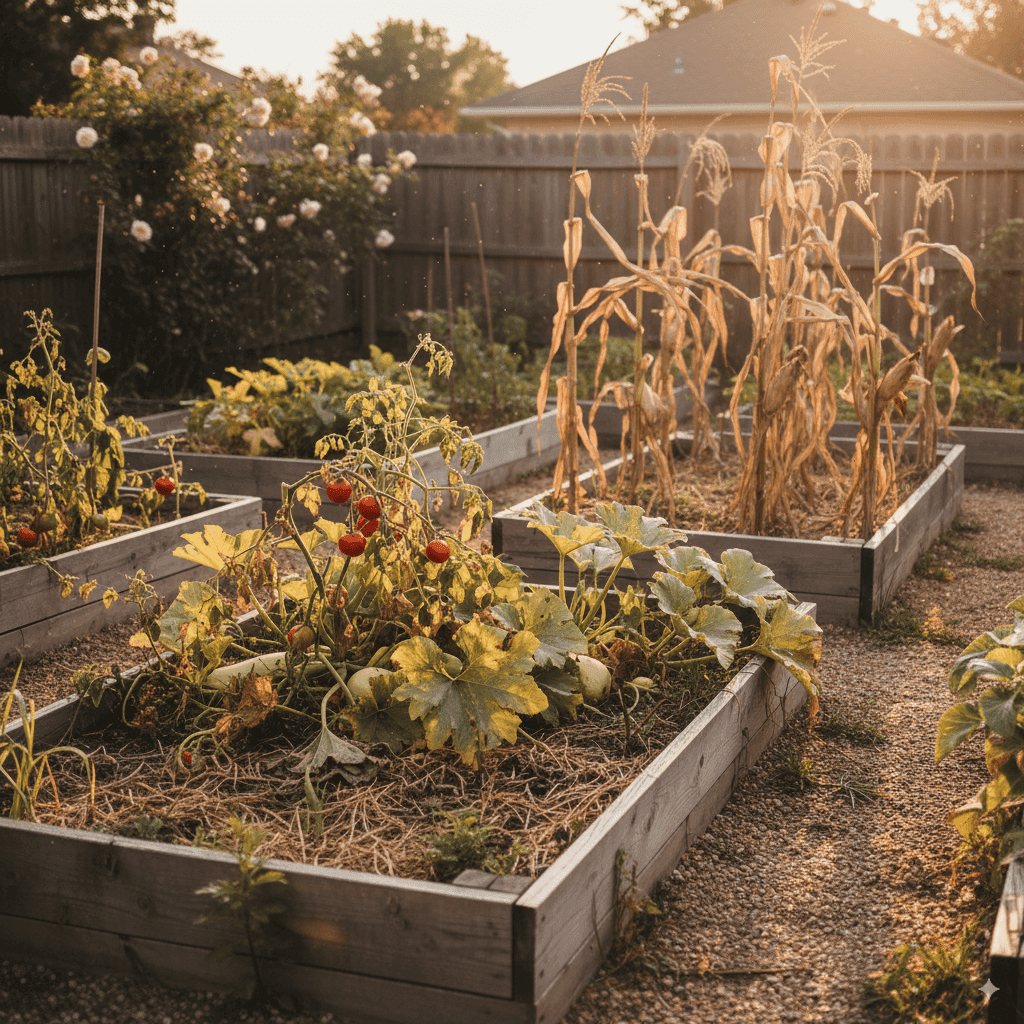
- What You Need to Remove: Pull out all your annual vegetables and flowers that have finished producing. This includes your tomato vines, zucchini plants, bean stalks, marigolds, and zinnias. It’s best to get them out, roots and all.
- The Most Important Rule: You absolutely must remove any plant material that showed signs of disease during the season. If your squash had powdery mildew or your tomatoes had blight, do not put them in your compost pile. This will only spread the problem to next year’s garden. I put all diseased material in a separate yard waste bag.
- My Experience: My first couple of years, I left my diseased tomato plants in the garden over winter, thinking they would just decompose. The following spring, the same blight came back with a vengeance. It was a hard lesson: be ruthless with diseased plants—it really does pay off.
Earlier, we discussed the mistakes of beginner garden owners.
Step 2: The Final Harvest and Saving for the Future
Before you clear everything out, take one last walk through the garden to gather the remaining bounty.
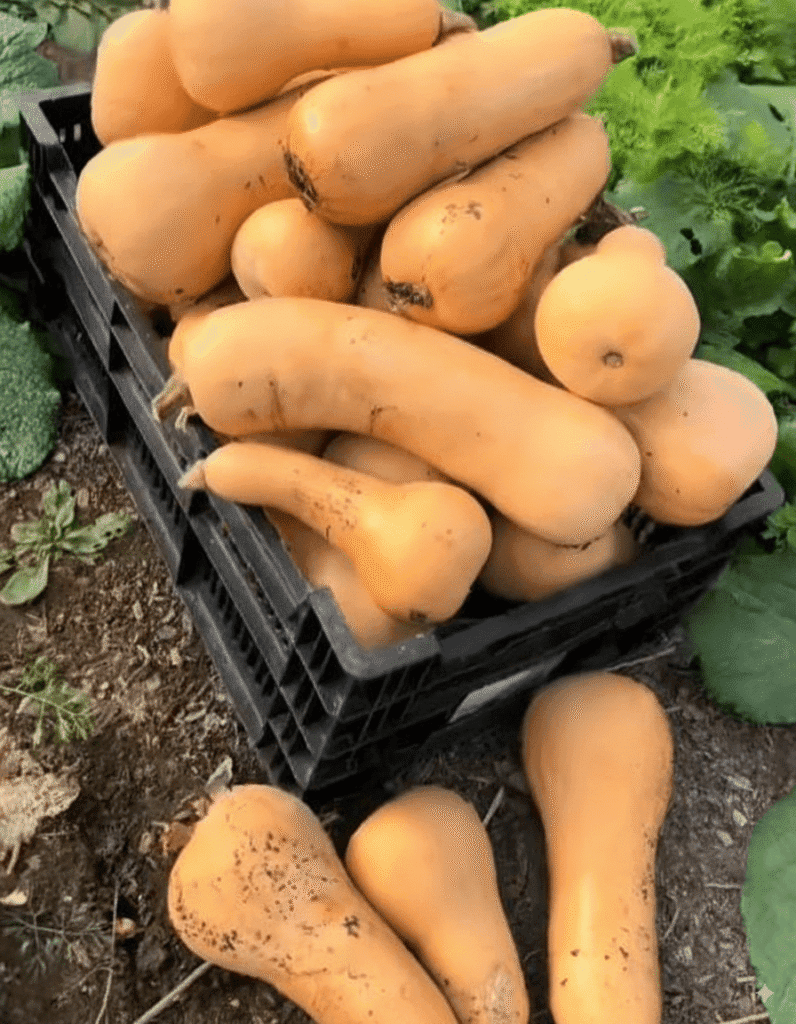
- Harvesting the Last of the Veggies: Dig up any remaining root vegetables like carrots, beets, or radishes. Harvest your winter squash and pumpkins, leaving a bit of the stem attached for better storage.
- The Green Tomato Trick: Don’t let a forecast of frost make you abandon your green tomatoes! Pick them all. You can place them in a single layer in a cardboard box and store them in a cool, dark place. Many of them will slowly ripen over the next few weeks.
- Saving Seeds for Next Year: If you grew any open-pollinated or “heirloom” varieties of flowers or vegetables that you particularly loved, now is the perfect time to save their seeds. Let a few bean pods dry on the vine, or collect the dried seed heads from your favorite flowers. It’s a free and incredibly rewarding way to plan for next season.
Step 3: The Great Perennial Debate – To Cut or Not to Cut?
For perennial plants (the ones that come back every year), the question of whether to cut them back in the fall can be confusing. Here is the simple rule I follow.
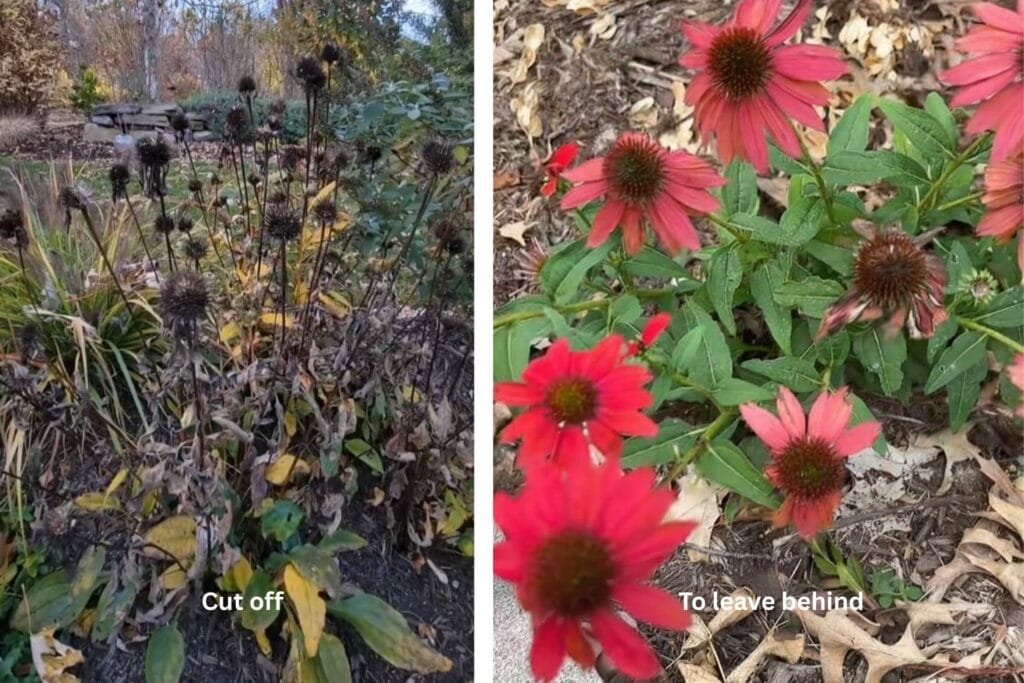
- When I Always Cut Back: I trim back perennials whose foliage gets slimy and rotten over the winter, like Hostas, Peonies, and Daylilies. Leaving this mushy foliage on the ground can encourage pests like slugs to make a home there. I cut the stems down to a few inches above the ground.
- When I Always Leave Standing: I make a point to leave sturdy perennials standing for the winter. Plants like Coneflowers (Echinacea), Sedums, and Ornamental Grasses provide crucial food (from their seed heads) and shelter for birds and beneficial insects during the cold months. Plus, they look absolutely beautiful with a dusting of frost or snow on them, adding structure and interest to the otherwise dormant garden.
Step 4: Feed Your Soil for its Winter Rest
This is perhaps the most beneficial step on the entire checklist. Fall is the number one best time to improve your soil.
- The “Why”: Think of your garden as being tired after a long season of producing. Now is the time to give it a feast so it can rest and rejuvenate. Adding amendments now gives them the entire winter to break down, releasing their nutrients and improving the soil structure for spring.
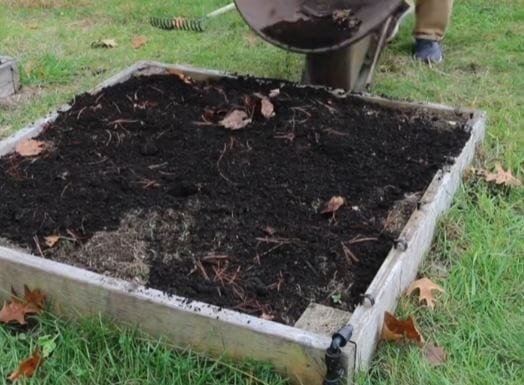
- My Simple Method: I call this “making the bed” for my garden. Once my garden beds are cleared, I spread a generous 2-3 inch layer of compost or well-rotted manure right on top of the soil. I don’t even dig it in. I let the winter rains, snow, and earthworms do the work of incorporating it for me. By spring, the soil is dark, crumbly, and teeming with life, ready for planting.
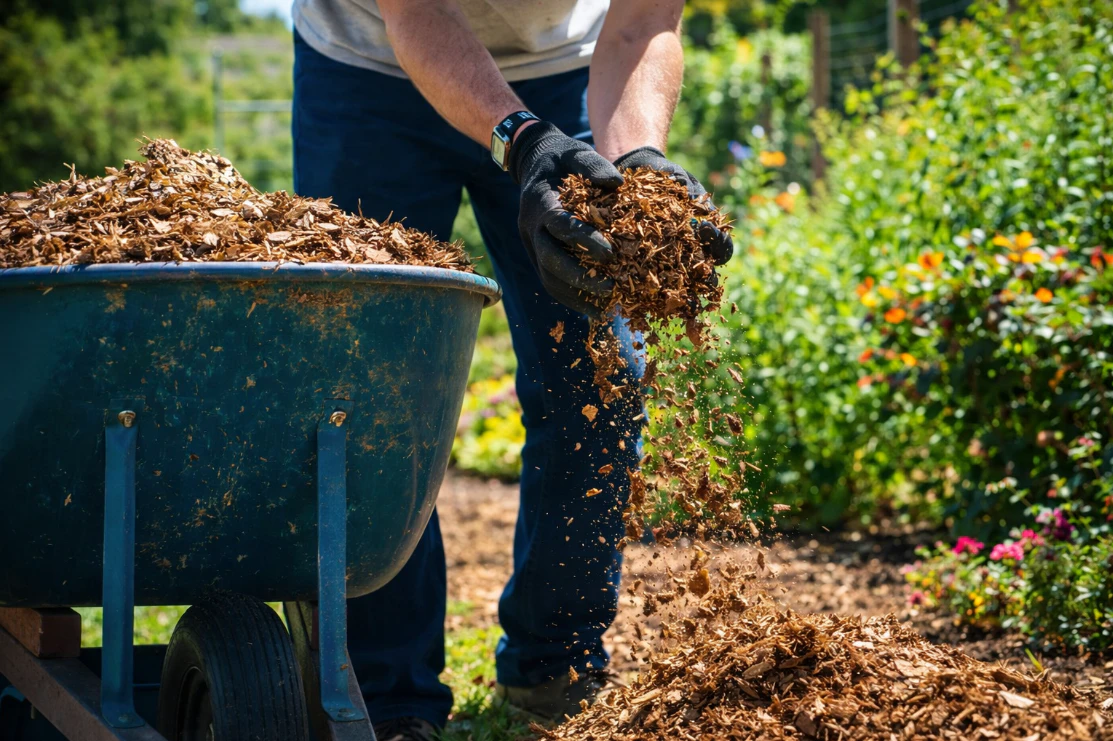
Step 5: Tuck Everything In with a Blanket of Mulch
After you’ve fed your soil, the next step is to tuck it in for the winter. Mulching in the fall protects your soil and the roots of your perennial plants.
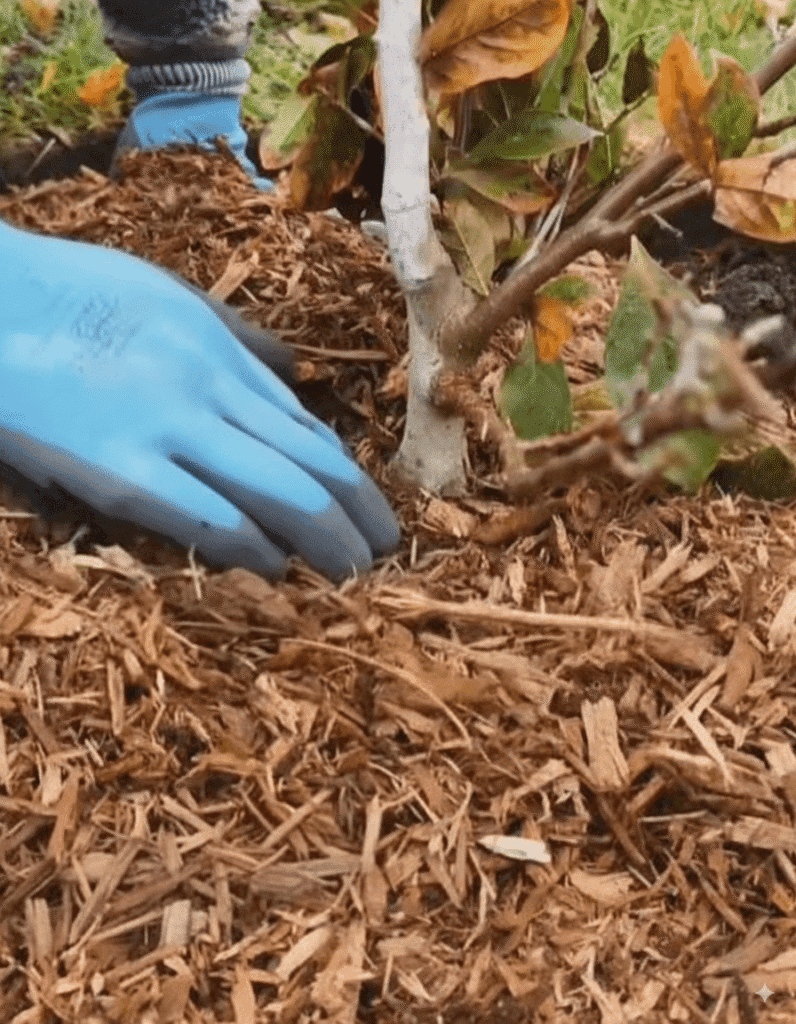
- The Purpose of a Winter Mulch: It’s not just about keeping the plants warm; it’s about keeping the soil temperature consistent. The real damage to plant roots happens during “freeze-thaw” cycles, where the soil freezes at night and thaws during the day. Mulch acts as an insulating blanket, preventing this.
- How to Do It: After the first light frost but before the ground freezes solid, apply a 2-3 inch layer of organic mulch like shredded leaves, straw, or pine needles over your garden beds and around the base of your perennials and shrubs. For a much deeper dive into this topic, you can read our complete guide to protecting your plants during winter.
Step 6: A Little Love for Your Lawn
Even if you’re focused on your vegetable and flower beds, don’t forget that your lawn is a big part of your backyard ecosystem.

- Rake the Leaves (But Don’t Waste Them!): It’s important to rake fallen leaves off your lawn, as a thick, wet layer can smother the grass. But don’t throw them away! Shredded leaves are one of the best free mulches and compost ingredients you can get. I usually run them over with the lawnmower to chop them up.
- The Final Mow: Give your lawn one last cut before winter sets in. Don’t cut it too short; leaving it a little longer (around 3 inches) helps it stay healthy through the cold.
Step 7: Clean and Store Your Tools with Care
This is my final ritual of the season. It’s a quiet, mindful task that officially closes the chapter on the year’s garden.
- Why It’s Important: Taking care of your tools ensures they will be ready to go in the spring and will last for many years. Rust and dirt can ruin good tools.
- My Simple Process: I scrape off any caked-on mud from my shovels and trowels. I give everything a good rinse and let it dry completely. I take a moment to sharpen the blades on my pruners and shears. Finally, I wipe the metal parts with an oily rag to prevent rust and rub some linseed oil into the wooden handles to keep them from cracking.
- The Feeling: For me, this feels like a respectful ‘thank you’ to the tools that worked so hard all summer. Storing them away clean and ready feels like an act of hope and a promise for the next season.
Conclusion: A Garden at Peace, Ready for Spring
Looking out at a clean, mulched, and prepared garden in the late fall is a deeply satisfying feeling. It’s a feeling of peace, of a job well done. The chaos of summer has been put to rest, and the earth is ready for its long, quiet sleep.
Every task on this checklist is more than just a chore; it’s an investment in the future. It’s a gift you are giving to your spring garden and to your future self. By taking these simple steps now, you are ensuring that when that first warm breeze of spring arrives, you’ll be met with healthy soil, resilient plants, and a garden that is ready to burst forth with life all over again.