How to Prepare Your Roses for Winter: A Beginner’s Step-by-Step Guide
Have you ever felt that sense of dread as winter approaches, worrying if the beautiful roses you cared for all summer will survive the cold? I certainly have. I’ll never forget the first stunning rose bush I lost to a harsh winter simply because I didn’t know how to protect it. That painful lesson taught me everything. In this guide, I’ll share my simple, fear-free steps to ensure your roses don’t just survive, but come back stronger and more glorious than ever next spring.
Why Your Roses Are More Vulnerable Than You Think
Before we jump into the “how-to,” it’s helpful to understand why winter is such a challenge for roses. Unlike a hardy oak tree, modern roses are often a bit delicate.

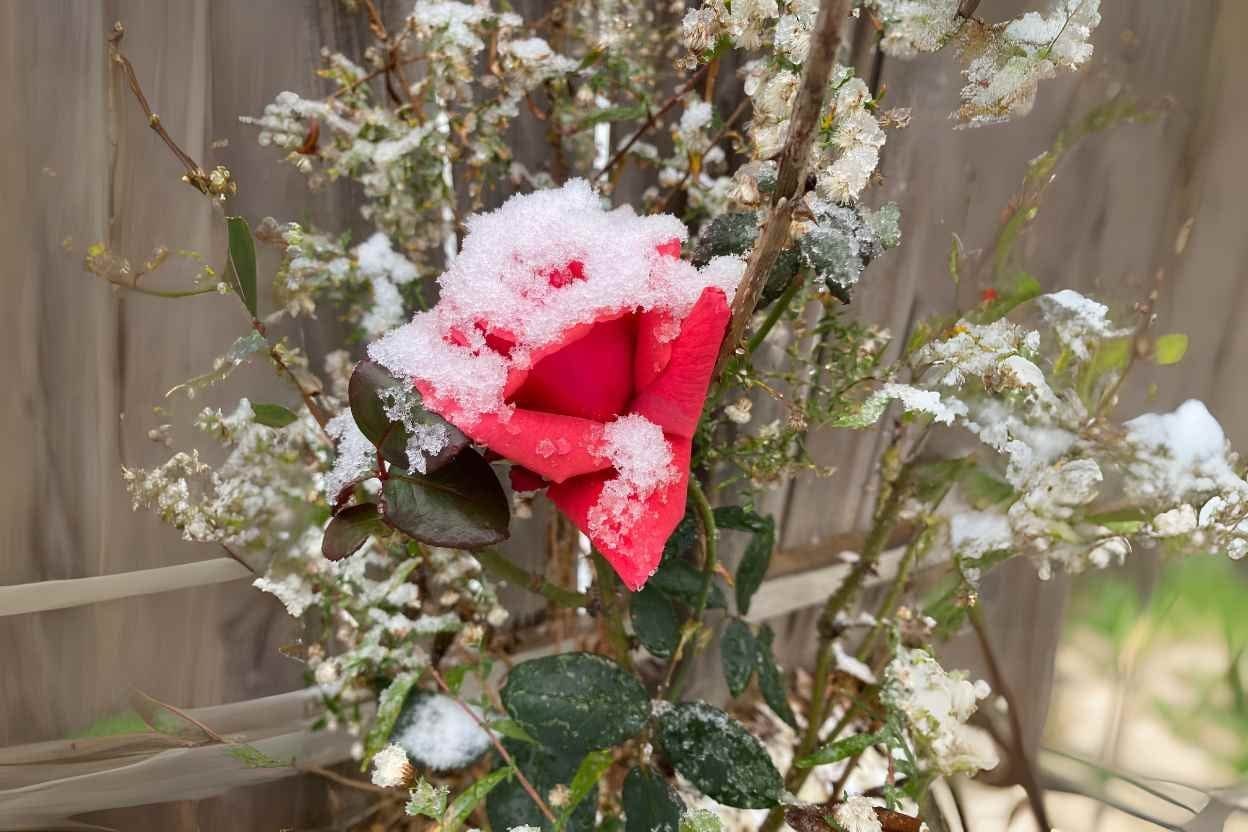
- The Threat of Freeze-Thaw Cycles: The biggest danger isn’t just the cold; it’s the fluctuation. A sunny winter day can warm up the rose canes, and then a sudden temperature drop at night can cause the sap inside to freeze and expand, cracking and splitting the stems.
- The Danger of Windburn: Cold, dry winter winds are relentless. They can strip the moisture right out of the canes, causing them to dry out and die, a condition known as “windburn” or desiccation.
- The Vulnerable Heart: The Bud Union: For most modern roses, the most critical part is the “bud union”—that knobby bump at the base of the plant where the beautiful named variety (like your ‘Mister Lincoln’) was grafted onto a hardier rootstock. If this “heart” of the rose freezes, the entire plant is often lost. Our main goal is to protect this spot.
The Golden Rule of Timing: When to Start Winterizing
This is where I made my second big mistake. One year, after losing my first rose, I panicked and covered my other roses in early fall at the first sign of a chill. This was also wrong.
Here is the most important rule of timing: Wait until after the first hard frost (around 28°F or -2°C) has caused most of the leaves to fall off, but before the ground freezes solid.
Why the wait? The first couple of frosts are a natural signal to the rose bush that it’s time to stop growing and enter a state of dormancy, or deep sleep. If you cover it too early, you trap warmth and moisture, which can confuse the plant and even encourage fungal diseases. Patience is key.
My 5-Step Method for Tucking in Your Roses
This is the simple, reliable process I’ve used for years. Follow these steps, and your roses will thank you for it in the spring.
Step 1: A Meticulous Cleanup

The first job is to create a clean environment. Remove and discard all the fallen leaves, old mulch, and any other debris from around the base of your rose bushes.
I can’t stress this enough: this step is critical for disease prevention. Fungal spores, especially the dreaded Black Spot, can survive the winter on old leaves. Leaving them on the ground is like leaving a welcome mat out for next year’s infections. This is a key part of any good fall garden cleanup routine.
Step 2: The Final Drinks, But No More Food
To prepare for dormancy, your rose needs to “toughen up.”

- Stop Fertilizing: I stop feeding my roses all fertilizer about 6 to 8 weeks before my average first frost date. Fertilizing encourages new, tender growth that has no chance of surviving the winter and only wastes the plant’s energy.
- Keep Watering: However, don’t stop watering. Roses need to be well-hydrated to get through the dry winter. Continue to water them deeply once a week until the ground freezes.
Step 3: A Gentle Trim, Not a Major Pruning
This is a point of major confusion for beginners. Let me be clear: this is not the time for a hard, structural pruning. That major haircut happens in early spring, just as the new growth begins.

The goal of a fall trim is simply to prevent winter damage.
- Shorten Long Canes: I trim any extra-long, whippy canes back to about waist height (2-3 feet). This is to stop them from being whipped around and damaged by winter winds, which can loosen the root ball.
- Remove Anything Dead or Diseased: Snip off any dead, broken, or clearly diseased canes.
- Tie Them Up: For climbing roses, I make sure the canes are securely tied to their trellis or support so they don’t break under the weight of snow or ice.
Step 4: The Winter Blanket: Mounding Your Roses
This is the single most important step for protecting the heart of your rose. “Mounding” simply means piling up an insulating material over the base of the plant.

- What to Use: The best material is loose and airy. I’ve had the most success with a pile of finished compost or good-quality soil. You can also use shredded leaves or straw. Avoid using heavy, wet materials.
- How to Do It: Gently pile the material over the center of the rose bush, covering the base and the bud union completely. Your mound should be about 10-12 inches high and wide. Think of it as creating a small, protective volcano of insulation. This will shield the most vulnerable part of the plant from the harshest temperatures.
Step 5: Extra Armor for the Harshest Climates
If you live in a very cold region (generally, USDA Hardiness Zone 5 or colder), you may need one extra layer of protection after mounding.

- How to Do It: You can place a “rose cone” over the mounded plant, or create your own collar by making a cylinder of chicken wire and filling it loosely with shredded leaves or straw. This adds another layer of insulation against extreme cold and wind. For my climbing roses, I sometimes wrap the canes loosely in burlap for extra protection from windburn.
A Special Note on Winterizing Potted Roses
I learned this lesson the hard way, too. A rose planted in a pot is far more vulnerable than one in the ground. Why? Because its roots are completely exposed to the cold air from all sides, not insulated by the vastness of the earth. Leaving a potted rose on an exposed patio in a cold climate is a death sentence.

Here are the best options for protecting them:
- The Best Option: A Cold Sleep in the Garage. The easiest and safest method is to move the pot into an unheated but protected space like a garage, shed, or cold cellar after it has gone dormant. It just needs to stay cold (but not frozen solid) and dark. I check the soil once a month to make sure it’s not bone-dry.
- A Good Option: Burying the Pot. This is called “heeling in.” Dig a hole in an empty spot in your garden and sink the entire pot into the ground up to its rim. The earth will insulate the roots. Cover the top with mulch as you would with your other roses.
- The Okay Option (for Milder Climates): If your winters aren’t too severe, you can group your potted roses together against a sheltered wall of your house, wrap the pots in bubble wrap or burlap, and pile mulch heavily on top.
Conclusion: The Promise of Spring
There is a deep sense of peace that comes from tucking your roses in for the winter. It feels like a final, caring act at the end of a long season. All the worry I used to feel has been replaced by a quiet confidence, knowing I’ve done my best to keep them safe.

This little bit of effort in the fall is your investment in the future. It’s the promise you make to your garden that you’ll be back. And when spring finally arrives, and you see those first tiny, red shoots emerging from the canes you so carefully protected, you will feel a joy that makes it all worthwhile. You’ll know that the heart of your garden was just sleeping, waiting for your care to bring it back to life.