How to Grow an Endless Supply of Garlic: Secret Tips Revealed!
For years, garlic cultivation seemed complicated to me. Something that took a whole year and probably a lot of secret farmer knowledge. Then, an old gardener friend let me in on a little secret: growing garlic is one of the easiest, most “hands-off” things you can do in your garden. The real magic trick? You plant it in the fall, forget about it all winter, and are rewarded with a huge harvest the next summer.
It sounded too good to be true, but I tried it. The result was the biggest, most intensely flavorful garlic heads I had ever tasted. In this guide, I’m going to share that simple secret with you. Let’s unlock the surprisingly easy process of fall planting that will give you an almost endless supply of delicious, homegrown garlic.
- The Real "Secret" to an Endless Supply
- The Most Important Decision: When to Plant Garlic
- A Tale of Two Garlics: Which Type Should You Grow?
- Where to Get Your First Garlic Plant: A Critical Choice
- The Main Event: How to Plant Garlic in 5 Simple Steps
- An Important Clarification: The "Garlic Vine Plant" is Not Garlic!
- No Yard? No Problem! How to Grow Garlic from a Clove in a Pot
- A Bonus Secret: How to Grow Garlic Greens Indoors
- The Long Wait and the Glorious Summer Reward
- Conclusion: A Simple Act of Faith
The Real “Secret” to an Endless Supply
Okay, let me reveal the big secret right at the start. The way you get an “endless” supply is by becoming your own supplier. It’s a beautiful, sustainable cycle.
- You plant your first crop of high-quality “seed garlic.”
- You have a fantastic summer harvest.
- You save the biggest, healthiest heads from that harvest.
- In the fall, you “crack” those heads into individual cloves and replant them.
That’s it! By saving your own best cloves of garlic to replant each year, you create a perpetual harvest. The garlic you plant will slowly adapt to your specific soil and climate, getting better and better each season. You may never have to buy garlic again.
The Most Important Decision: When to Plant Garlic
This is the key to the whole process. While you can plant garlic in the spring, you’ll get much smaller heads. The magic happens when you plant in the fall.
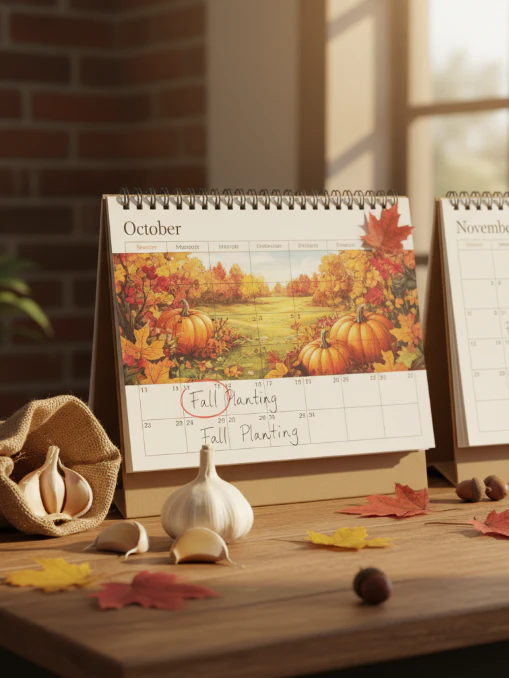
Garlic, as a plant, needs a period of cold weather a process called “vernalization” to trigger it to divide its single clove into a full head of multiple cloves of garlic. By planting it in the autumn (typically in October or November for most of the US and Europe), you are allowing the clove to experience this necessary winter chill while it establishes its root system underground. It’s like a long, productive winter nap that sets it up for explosive growth in the spring.
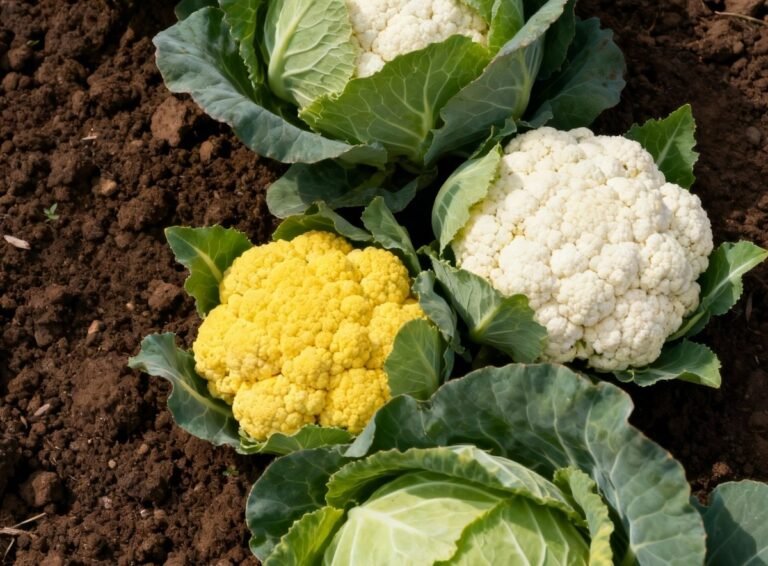
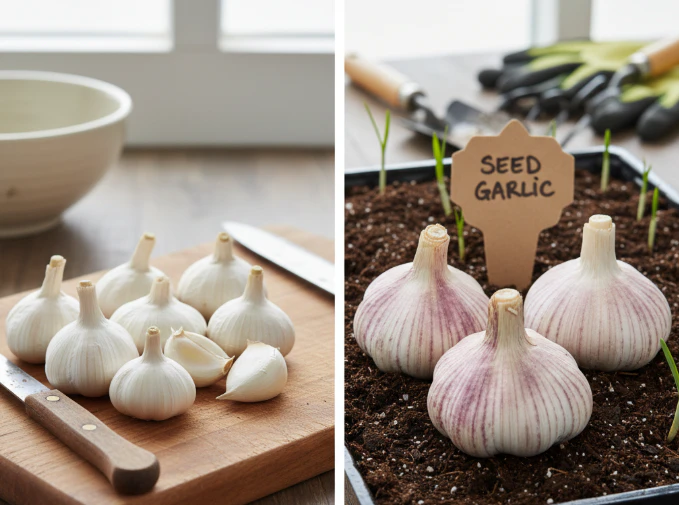
A Tale of Two Garlics: Which Type Should You Grow?
When you start looking for garlic to plant, you’ll see two main categories. Choosing the right one for your climate is important.
- Hardneck Garlic: This is my personal favorite and the one I recommend to most beginners in cooler climates. Hardneck varieties are extremely cold-hardy. They produce a stiff central flowering stalk called a “scape,” which is a delicious bonus harvest in early summer (it tastes like a mild garlic-scallion!). The cloves of garlic are generally larger, more uniform, and easier to peel, with a more complex and robust flavor.
- Softneck Garlic: This is the type you most often see in grocery stores. Softneck varieties do better in milder climates and do not produce a hard central scape. Their biggest advantage is that they store for a very long time, and their flexible stems are the ones used to make beautiful garlic braids.
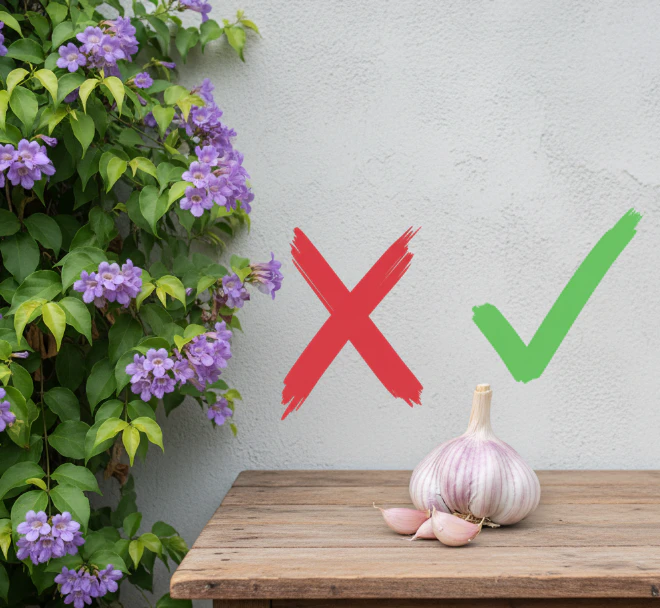
Where to Get Your First Garlic Plant: A Critical Choice
This is the one place you shouldn’t try to cut corners. Do not plant garlic cloves from the grocery store. I tried this my first year, and it was a complete failure. Here’s why:
- Most supermarket garlic is a Softneck variety that may not be suited to your climate.
- More importantly, it’s often treated with growth inhibitors to prevent it from sprouting on the shelf. That’s the exact opposite of what you want it to do in your garden!
The solution is to buy certified “seed garlic” from a local nursery or a reputable online seed company. This garlic is specifically grown for planting, is disease-free, and is guaranteed to sprout.
The Main Event: How to Plant Garlic in 5 Simple Steps
This is the wonderfully simple part. It takes very little time in the fall and rewards you handsomely later.
Step 1: Find the Sunniest Spot You Have
Your garlic plant is a sunworshipper. To grow big, healthy bulbs, it needs a spot in your garden that receives at least 6-8 hours of direct sunlight per day. This is the time to give it your prime real estate.
Step 2: Prepare a Rich, Well-Drained Bed

Garlic hates “wet feet.” It needs fluffy, well-draining soil to prevent rot during the wet winter months. This is the perfect time to amend your soil with a few inches of good quality compost. A healthy soil foundation is everything, a lesson I cover in my beginner’s guide to understanding garden soil.
Step 3: “Crack” the Bulb, But Don’t Peel!
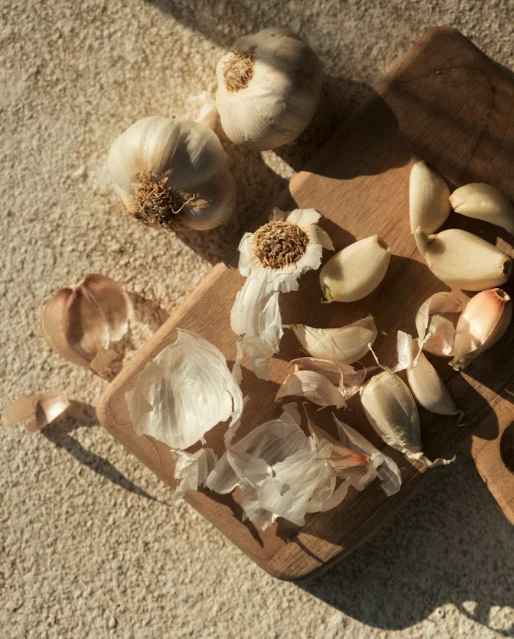
A day or two before you plant, it’s time to “crack” your seed garlic heads. Gently separate the head into its individual cloves of garlic. Try to keep the papery skin on each clove as intact as possible, as this protects it. Be sure to use the largest, healthiest-looking cloves for planting those will produce the biggest heads next year. (The small ones? Use them in your dinner!)
Step 4: Plant Them Pointy-Side Up
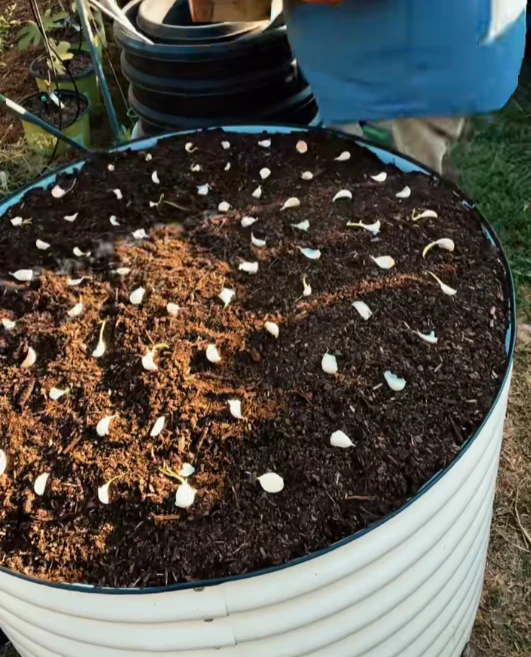
This is a simple but crucial detail. Each cloves of garlic has a flat, root-end and a pointed top. You want to plant them with the pointy end facing the sky. I confess, I once planted a few upside down. They still grew, but they had to waste a lot of energy making a U-turn underground!
- Depth: Plant each clove about 2-3 inches deep.
- Spacing: Give them about 6 inches of space on all sides to allow the bulbs to swell.
Step 5: Tuck Them in for Winter with a Blanket of Mulch
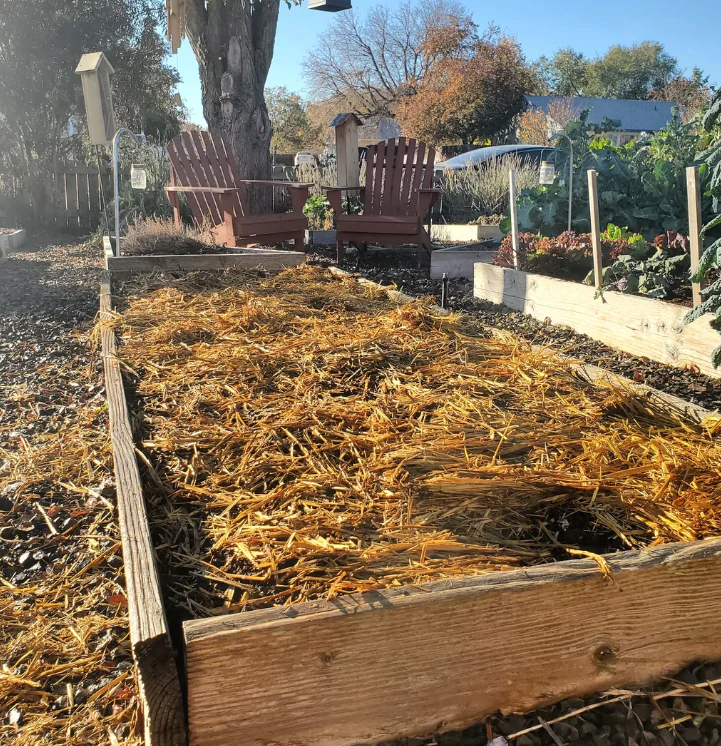
After you’ve planted all your cloves, water the bed well. Then, cover the entire area with a thick, 4–6-inch layer of insulating mulch. Shredded leaves, straw, or grass clippings work perfectly. This mulch blanket is essential. It protects the young cloves from being heaved out of the ground by freeze-thaw cycles and keeps winter weeds at bay. This is a key part of preparing your garden for winter.
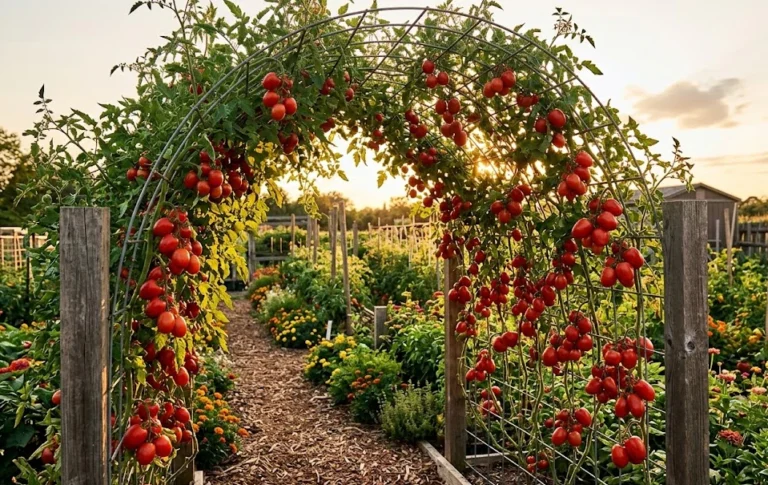
An Important Clarification: The “Garlic Vine Plant” is Not Garlic!
I want to take a moment to clear up a common point of confusion. You might see a beautiful flowering vine called a “Garlic Vine” at a nursery. This plant (Mansoa alliacea) has leaves that smell like garlic when crushed, but it is not the edible garlic we are talking about. It’s an ornamental, tropical vine and is not used for cooking. Don’t make the mistake of planting it and expecting to harvest bulbs!
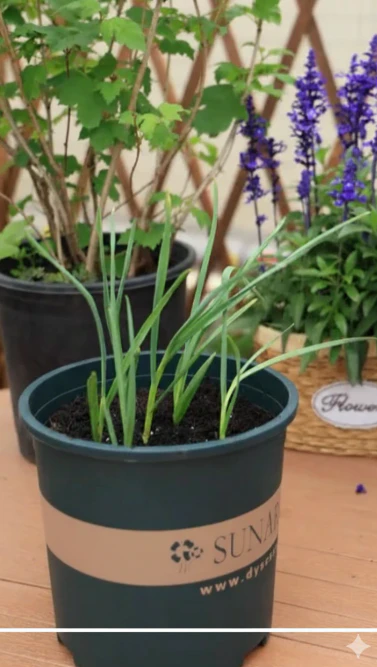
No Yard? No Problem! How to Grow Garlic from a Clove in a Pot
Don’t let a lack of space stop you! You can absolutely grow garlic from a clove in a pot. The process is almost identical, but with a few key considerations.
- Choose a Big Enough Pot: This is critical. For growing full heads of garlic, you’ll need a container that is at least 8-10 inches deep and wide enough to space your cloves 4-6 inches apart. A 5-gallon pot can comfortably fit 3-4 cloves.
- Use Potting Mix: As I always say in my container gardening guides, never use garden soil in a pot. Use a high-quality, well-draining potting mix.
- Winter Protection for Pots: A pot is more exposed to cold than the ground. In very cold climates, you’ll need to protect it. You can move it into an unheated garage or shed for the coldest part of winter, or wrap the pot in burlap or bubble wrap for insulation.
A Bonus Secret: How to Grow Garlic Greens Indoors
Want a taste of fresh garlic flavor all winter long? You can easily grow garlic indoors, but not for the bulbs—for the delicious green shoots!
- The Simple Method: Take a single garlic clove (even one from the grocery store will work for this) and plant it about an inch deep in a small pot of soil.
- The Reward: Place it on a sunny windowsill. In a couple of weeks, it will send up green shoots. You can use scissors to snip these “garlic greens” and use them just like you would chives. They have a wonderful, mild garlic flavor. When you cut them, they will even regrow a few times!
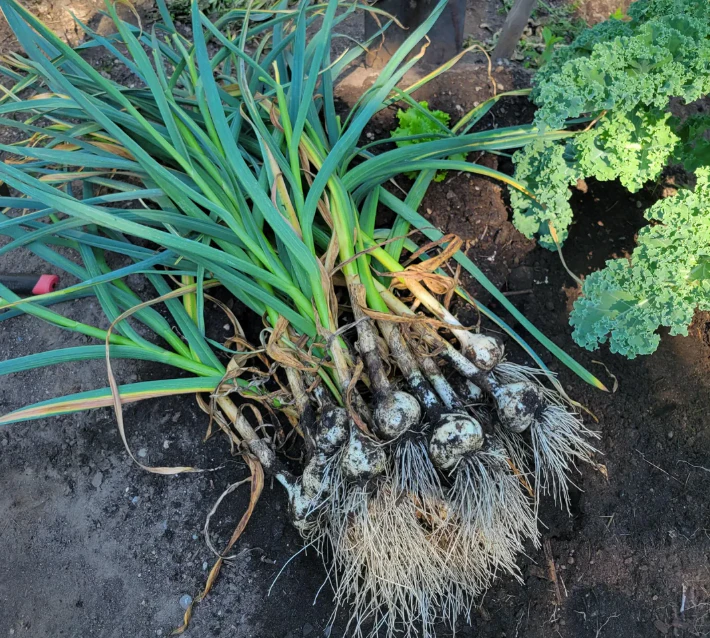
The Long Wait and the Glorious Summer Reward
After you’ve planted your garlic in the fall, your work is mostly done. You might see a few green shoots poke through the mulch before winter, which is perfectly fine.
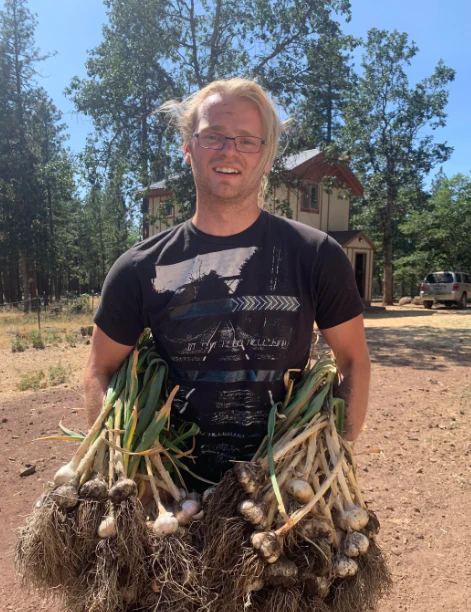
In the spring, the plants will begin to grow vigorously. Sometime in early summer, the hindneck varieties will send up those delicious “scapes”cut them off to send more energy to the bulb. When the lower leaves of the garlic plant start to turn yellow and brown in mid-summer, it’s a sign that your harvest is ready.
Conclusion: A Simple Act of Faith
Planting garlic in the fall is a simple act of faith in the seasons. You tuck these small cloves into the cold ground, cover them with a protective blanket, and trust that nature will do its work under the snow and frost.
And then, in the warmth of the following summer, you get to pull up these huge, fragrant, and intensely flavorful heads of garlic that you grew yourself. It’s one of the most satisfying and magical moments in the garden. I hope you’ll give it a try this fall.