A Complete Guide to Composting: How to Turn Kitchen Waste into Garden Gold
Let’s be real for a second—no one likes throwing away food scraps. That mushy banana peel, those sad wilted lettuce leaves from the back of the fridge… they’re basically screaming, “Hey! I could’ve been compost!” And guess what? They’re right. Composting is one of those truly magical gardening hacks that turns your everyday kitchen waste into the most nutrient-rich soil amendment you can get—what gardeners reverently call “black gold.”
When I first started composting, I messed up. A lot. My first attempt was a slimy, stinky pile in the corner of my yard that smelled like something had tragically died in there (gross, I know). I threw in everything, had no idea about balance, and it was a complete failure. But once I learned the simple “recipe” and the basic science, I became hooked. Now, my garden soil is rich, fluffy, and bursting with life, and I haven’t bought a bag of fertilizer in years.
So, if you’ve ever wanted to start composting without turning your yard into a science experiment gone wrong, this guide is for you. Let’s talk dirt—literally.
- What on Earth is Composting, Anyway?
- The Different Flavors of Composting: Choose Your Style
- The Secret Recipe: Getting the Green-to-Brown Balance Right
- The Guest List: What to Invite (and Not Invite) to Your Compost Party
- Let's Build It! Your First Compost Pile in 5 Simple Steps
- Help! My Compost is… (A Simple Troubleshooting Guide)
- Conclusion: The Joy of Turning Trash into Treasure
What on Earth is Composting, Anyway?
In the simplest terms, composting is nature’s recycling system on fast-forward. It’s the process of taking organic waste—like your food scraps, coffee grounds, and fallen leaves—and creating the perfect environment for millions of tiny microorganisms (bacteria, fungi) and bigger helpers (worms, insects) to break it all down.

As these little workers munch away, the pile heats up, transforming everything into a dark, crumbly, nutrient-rich material that smells like a healthy forest floor. This final product is compost, and it’s the single best thing you can add to your garden.
Why It’s a Non-Negotiable for a Great Garden
Still not convinced? Going through this trouble is a triple win that will change your gardening game forever:
- It’s Superfood for Your Garden: Forget expensive chemical fertilizers. Compost delivers a perfectly balanced diet of essential nutrients to your plants, improving soil structure, drainage, and water retention. This was the solution to my early gardening mistake of ignoring my soil quality.
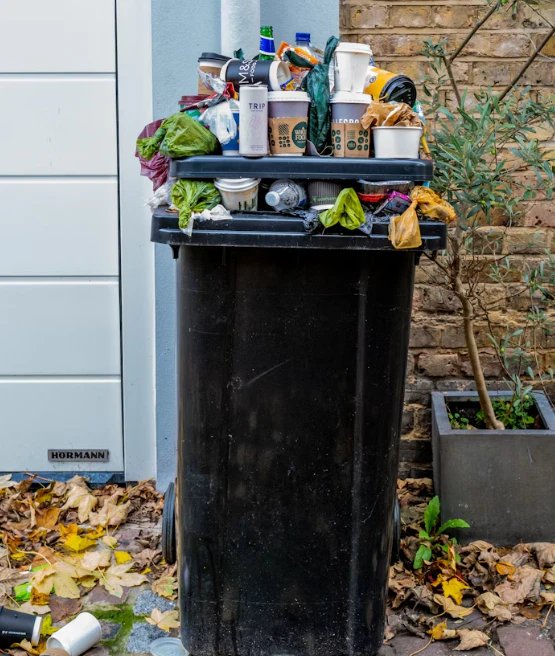
- It’s Amazing for the Planet: Every banana peel you compost is one less thing producing harmful methane gas in a landfill. You are literally reducing your carbon footprint from your own kitchen.
- It’s Great for Your Wallet: You are creating the world’s best soil amendment for free, using things you were going to throw away anyway. What’s not to love?
The Different Flavors of Composting: Choose Your Style
There’s no “one-size-fits-all” method. The best way to compost is the one that fits your space, budget, and lifestyle. Here are the four most popular styles.

1. The Classic Backyard Pile or Bin
This is the most traditional method. It’s as simple as creating a pile in a corner of your yard or using a dedicated compost bin. It’s a slow-and-steady approach that lets nature do most of the work.
- Best for: Anyone with a backyard, no matter how small.
- What you’ll need: A small, out-of-the-way spot, a garden fork for turning, and your organic waste.
- Pros: It’s the cheapest and easiest way to start. It can handle a large volume of yard waste like leaves and grass clippings.
- Cons: It can be slow, taking several months to a year. If not managed well, it can attract pests.
2. Worm Composting (Vermicomposting): The Speedy Indoor Method
Yes, it involves worms. No, it’s not gross—it’s actually fascinating! Worm composting uses a special type of worm (red wigglers, not regular earthworms) in a dedicated bin to rapidly break down kitchen scraps.
- Best for: Apartment dwellers, balcony gardeners, or anyone without a yard. The bin is compact and can be kept indoors or on a shady patio.
- What you’ll need: A worm bin (you can buy one or DIY it) and a batch of red wiggler worms.
- Pros: It’s fast (you can get compost in a few months), completely odorless when done right, and produces both solid compost and a liquid fertilizer called “worm tea.” Kids also love it!
- Cons: It can’t handle a large volume of waste, and you need to avoid adding things like citrus, onions, and garlic, which the worms dislike.
3. Bokashi Composting: The Fermenting Powerhouse
This one is a little different and very cool. Bokashi is a Japanese method that uses fermentation (like making pickles) rather than decomposition. It uses a special airtight bucket and an inoculated bran to essentially “pickle” your kitchen scraps.

- Best for: People who want to compost everything, including things you can’t put in a traditional pile like meat, dairy, and oily foods.
- What you’ll need: A special Bokashi bucket (with a spigot) and Bokashi bran.
- Pros: It’s incredibly fast (the fermentation takes only a few weeks). It’s odorless and can be done in a small kitchen.
- Cons: The end product isn’t finished compost. It’s a “pre-compost” that you then need to bury in your garden soil or a larger compost pile to finish breaking down.
4. Tumbler Composting: The Tidy and Convenient Option
If the idea of turning a compost pile with a pitchfork doesn’t sound like your idea of fun, a compost tumbler might be your perfect match. It’s a sealed barrel mounted on a frame that you can easily rotate.
- Best for: Gardeners who want a neat, tidy, and enclosed system that keeps pests out and speeds up the process.
- What you’ll need: A compost tumbler (they come in various sizes).
- Pros: It’s clean and contained. Turning the compost is as easy as spinning the barrel, which aerates the pile and speeds up decomposition significantly. You can often get finished compost in just 1-2 months.
- Cons: They can be a bit of an initial investment, and it can be tricky to add new material once a batch is already “cooking.”
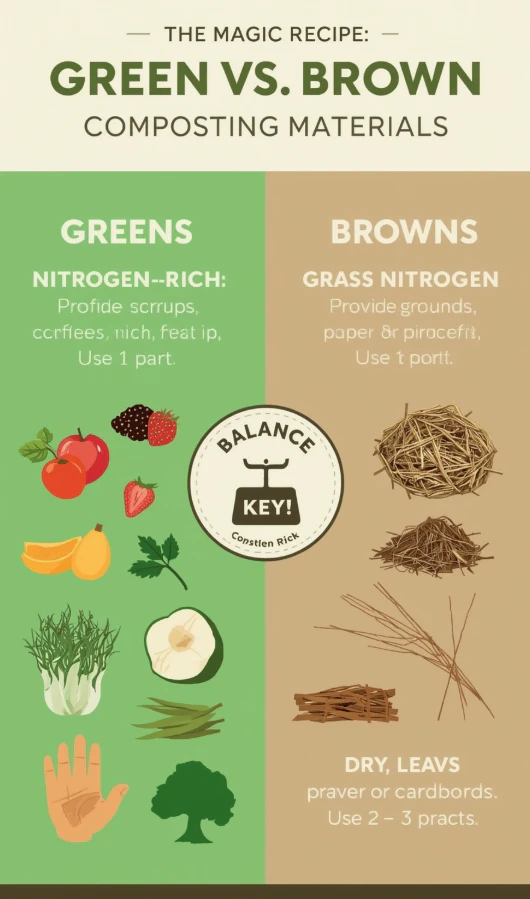
The Secret Recipe: Getting the Green-to-Brown Balance Right
This is where I failed on my first try, and it’s the most important concept in composting. A healthy compost pile needs a balanced diet, just like we do. The recipe involves two key ingredients:
- “Greens” (Nitrogen-Rich Materials): These are the wet, fresh materials that provide nitrogen and kickstart the heating process.
- Examples: Fruit and vegetable scraps, coffee grounds, fresh grass clippings, and plant trimmings.
- “Browns” (Carbon-Rich Materials): These are the dry, woody materials that provide carbon and create air pockets for the microbes to breathe.
- Examples: Fallen leaves, straw, shredded newspaper (not glossy!), cardboard, and small twigs.
The Magic Ratio: The ideal recipe is roughly 2 to 3 parts “Browns” for every 1 part “Greens” by volume. Think of it like making a lasagna: a layer of browns, then a thinner layer of greens, and repeat.
- Too many Greens? Your pile will become a wet, slimy, and smelly mess. (This was my first mistake!)
- Too many Browns? Your pile will be too dry and take forever to break down.
Getting this balance right is the secret to a fast, hot, and odor-free compost pile.
The Guest List: What to Invite (and Not Invite) to Your Compost Party
This is where many beginners get a little confused. The simple answer is: if it grew from the ground, it can probably go in your compost. But there are a few important exceptions to keep your pile healthy and pest-free.
Yes, Please! (The Good Stuff Your Compost Loves)
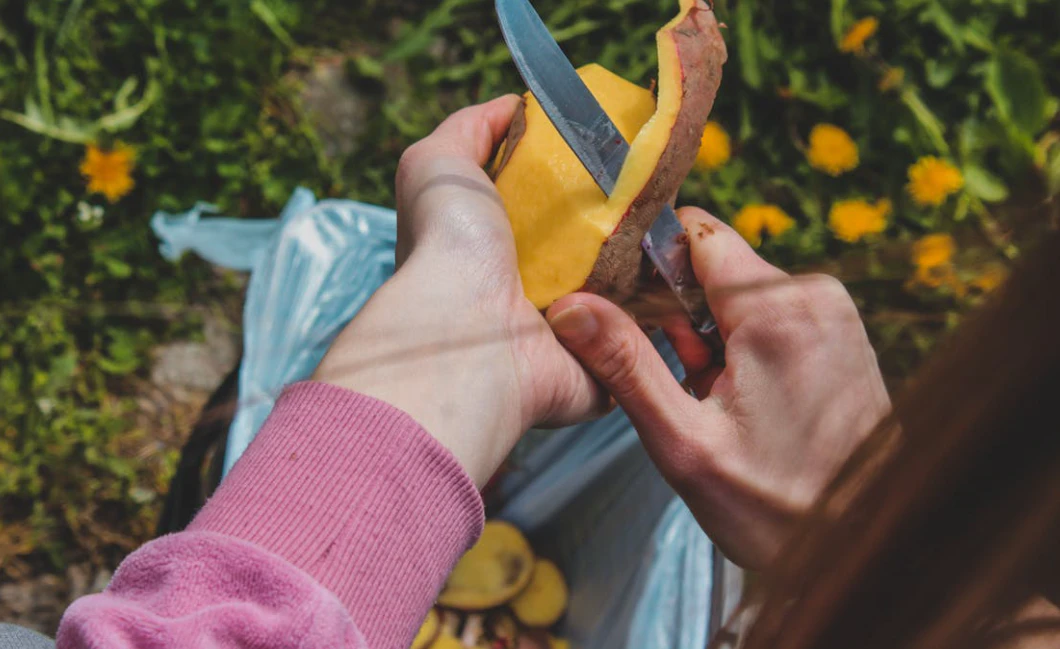
- From the Kitchen: All your fruit and vegetable scraps (peels, cores, stems), crushed eggshells, coffee grounds and paper filters, and tea bags (just be sure to remove any plastic tags or staples).
- From the Yard: Fallen leaves (the absolute best “brown” material!), grass clippings (add in thin layers so they don’t get slimy), small twigs and branches, and old plant trimmings from your garden.
- From Around the House: Shredded newspaper (not the glossy ads!), cardboard (tear it into small pieces), and paper towel rolls.
No, Thank You! (The Party Crashers to Avoid)
- Meat, Fish, Bones, or Dairy Products: These will break down eventually, but they smell absolutely awful and are a giant welcome sign for unwanted critters like raccoons and rats. It’s not worth the trouble.
- Oily or Greasy Foods: Oils can coat other materials and slow down decomposition, and they also attract pests.
- Pet Waste (from dogs or cats): This can contain harmful pathogens that you do not want in the compost you’ll be using to grow your food.
- Diseased Plants: If you pulled out a tomato plant that had blight or a squash vine covered in powdery mildew, do not add it to your compost. The disease spores can survive the composting process and reinfect your garden next year.
Let’s Build It! Your First Compost Pile in 5 Simple Steps
Ready to get your hands dirty? Here’s my simple, no-fuss method for starting a classic backyard compost pile today.
Step 1: Find the Right Spot

First, choose a good location. An ideal spot is level, has good drainage, and is partially shaded to prevent it from drying out too quickly in the summer. It’s also wise to keep it close to a water source (like your garden hose) but not right next to your house or patio.
Step 2: Build Your Foundation (The Brown Layer)
Don’t just dump everything on the bare ground. Start your pile with a 4-6 inch layer of bulky “brown” material. I like to use small twigs or woody clippings first to allow for a bit of airflow at the bottom. On top of that, add a thick layer of dried, fallen leaves. This is the carbon-rich base of your pile.

Step 3: Add the Engine (The Green Layer)
Now it’s time for the “greens.” Add a thinner layer (about 2-3 inches) of your nitrogen-rich materials on top of the brown layer. This includes all your kitchen scraps, coffee grounds, and any fresh grass clippings.
Step 4: A Sprinkle of Water and a Dash of Magic
Your compost pile should always be about as moist as a wrung-out sponge—damp, but not dripping wet. Give your new layers a light sprinkle of water. Now for the magic ingredient: add a shovel-full of finished compost from a friend or a thin layer of healthy garden soil. This “activates” your pile by introducing all the beneficial microbes it needs to start cooking.
Step 5: The Rhythm of Layering, Turning, and Waiting
From now on, just keep layering. Every time you add a bucket of kitchen scraps (greens), make sure to cover it with a layer of browns (I keep a big bag of dry leaves right next to my bin for this).

This is the secret to keeping it odor-free. Every few weeks, grab a garden fork and give the pile a good turn, mixing the outer layers into the hot center. This adds oxygen and dramatically speeds up the process. Then, be patient. In a few months to a year, you’ll have your very own black gold.
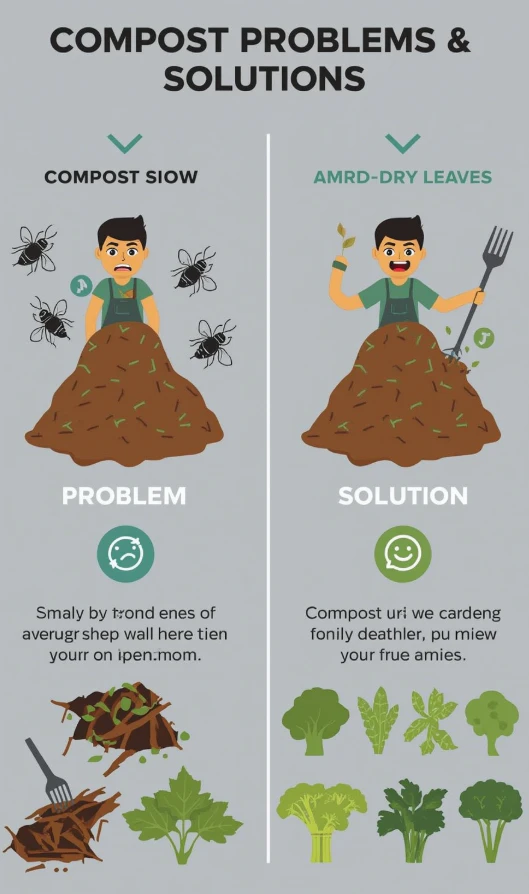
Help! My Compost is… (A Simple Troubleshooting Guide)
Even after years, my compost pile sometimes acts up. Don’t panic if things don’t go perfectly. Every problem has a simple solution, and it almost always comes down to the green-to-brown balance.
- Smelly (like ammonia or rotten eggs)?
- The Problem: It’s too wet and has too many “greens.”
- The Easy Fix: Add a generous amount of “browns” (shredded newspaper, cardboard, or dry leaves) and turn the pile thoroughly to introduce air.
- Not Doing Anything (it’s not heating up)?
- The Problem: It’s likely too dry, too small, or has too many “browns.”
- The Easy Fix: Give it a good sprinkle of water with your hose and mix in a fresh batch of “greens” like grass clippings or a bucket of kitchen scraps to kickstart the microbial activity.
- Attracting Flies or Animals?
- The Problem: Your food scraps are exposed on the surface.
- The Easy Fix: Whenever you add kitchen scraps, always bury them in the center of the pile and cover them with a thick layer of brown material.
Conclusion: The Joy of Turning Trash into Treasure

There’s something incredibly satisfying about creating your own compost. It’s an earthy, sustainable, and—I’ll admit it—a little addictive once you get the hang of it. You start to see “waste” in a completely new light. Banana peels become potassium for your roses. Coffee grounds become nitrogen for your lettuce. Fallen leaves become the lifeblood of your soil.
That backyard bin or pile becomes a tiny, bustling ecosystem that you manage, and in return, it rewards you with the best, most nutrient-rich fertilizer that money can’t buy.
So, grab your kitchen scraps, find a spot in your yard, and just start. You’ll probably mess up a bit at first (we all do), but soon enough, you’ll be holding a handful of that dark, crumbly garden gold and thinking, “Wow, I made this.” And that, in my opinion, is the real joy of composting—turning everyday waste into something truly life-giving.