A Beginner’s Guide to Understanding and Improving Your Garden Soil
When I first thought about my gardening life, I thought “dirt was just dirt.” I spent so much time and excitement choosing the perfect plants and finding the sunniest spot in my yard. I planted my little seedlings with so much hope, only to watch them struggle, looking pale and stunted. I was focusing on everything above the ground, completely ignoring the entire living universe happening below it.
The day I finally learned to stop looking at my plants and start looking at my soil was the day I truly became a gardener. I realized that healthy soil isn’t just important; it’s the absolute foundation of everything. It’s the secret handshake of a successful garden.
In this guide, I’m going to demystify garden soil for you. We’ll skip the complicated chemistry and focus on simple, practical steps to help you understand what you’re working with. I’ll show you how to become a “soil detective” and how to turn any type of soil into the rich, life-filled “black gold” that your plants are dreaming of.
- More Than Just Dirt: The Living City Beneath Your Feet
- Become a Soil Detective: 3 Simple DIY Tests to Understand Your Soil
- The Gardener's Ultimate Secret: The Magic of Organic Matter
- My Soil Improvement Action Plan: 5 Key Amendments
- The Secret to an Easy Spring: Do the Work in the Fal
- Conclusion: Stop Treating Your Soil Like Dirt
More Than Just Dirt: The Living City Beneath Your Feet
Before we start diagnosing, it’s fascinating to understand what soil actually is. It’s not just a collection of rock particles. Healthy garden soil is a bustling, living ecosystem—a microscopic city teeming with life.
Think of it this way: the solid particles (minerals from broken-down rock) are the buildings of the city. But the magic happens in the spaces in between. These spaces are filled with crucial elements:
- Water: The drinking supply for your plants.
- Air: Yes, roots need to breathe! Oxygen is vital.
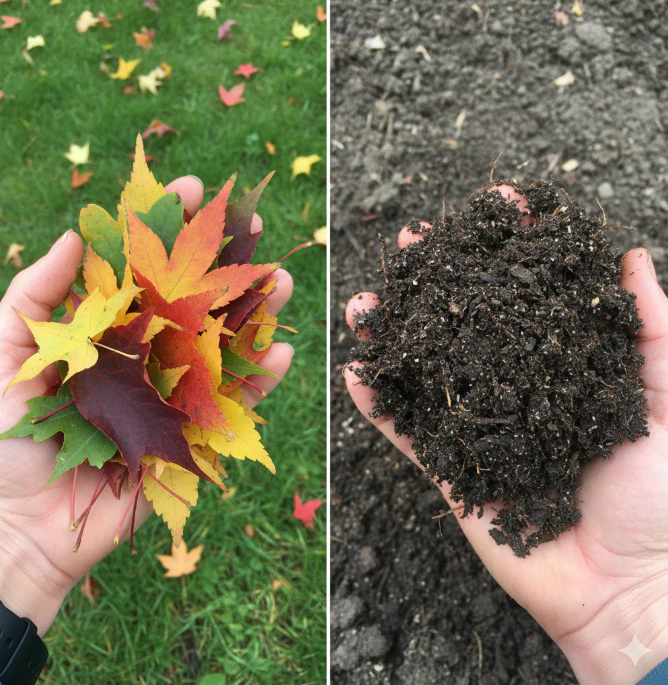
- Organic Matter: This is the city’s pantry, recycling center, and health clinic all in one. It’s the decomposed stuff—old leaves, roots, and microbes—that provides the food.
- The Citizens: This city is full of residents! Earthworms, beneficial bacteria, fungi, and countless other microorganisms are the workers. They are the construction crew, the chefs, and the doctors, constantly working to break down organic matter and deliver nutrients to your plants’ roots.
When I stopped seeing my garden as dirt and started seeing it as a living city I needed to care for, my entire approach to gardening changed.
Become a Soil Detective: 3 Simple DIY Tests to Understand Your Soil
So, how do you figure out what’s happening in your own backyard? You don’t need an expensive lab kit to get started. Here are three incredibly simple, hands-on tests I use to “read” my soil.

The Squeeze Test: What’s Your Soil’s Personality?
This classic test will tell you about your soil’s texture—whether it’s mostly sand, clay, or the perfect loam. Grab a handful of your garden soil, add a little water until it’s moist like a damp sponge (but not dripping), and give it a good squeeze in your fist.
- If it feels gritty and falls apart as soon as you open your hand, you have sandy soil. This is great for drainage, but it’s like a sieve—water and nutrients run right through it.
- If it feels slick and smooth, and you can squeeze it into a shiny, sausage-like ribbon that doesn’t break, you have clay soil. I struggled with this for years. Clay is rich in nutrients, but the particles are so tiny and packed together that water can’t drain and roots can’t breathe.
- If it feels soft, holds its shape when you open your hand, but crumbles easily when you poke it, then congratulations, you have hit the jackpot! This is loam—the perfect, balanced soil that every gardener dreams of.
The Drainage Test: Is Your Soil Thirsty or Drowning?
This simple test, called a “percolation test,” tells you how well your soil drains water.
- Dig a hole about one foot deep and one foot wide.
- Fill it completely with water and let it drain entirely.
- Fill it with water again, but this time, track how long it takes for the water to disappear. My hard lesson came from this test. In my first garden bed, the water was still sitting there four hours later. It was a bathtub! I learned that no plant wants to live in a swamp. Ideally, the water should drain within a couple of hours. If it drains too fast (in minutes), your soil is too sandy. If it takes many hours, you have a drainage problem, likely due to heavy clay.
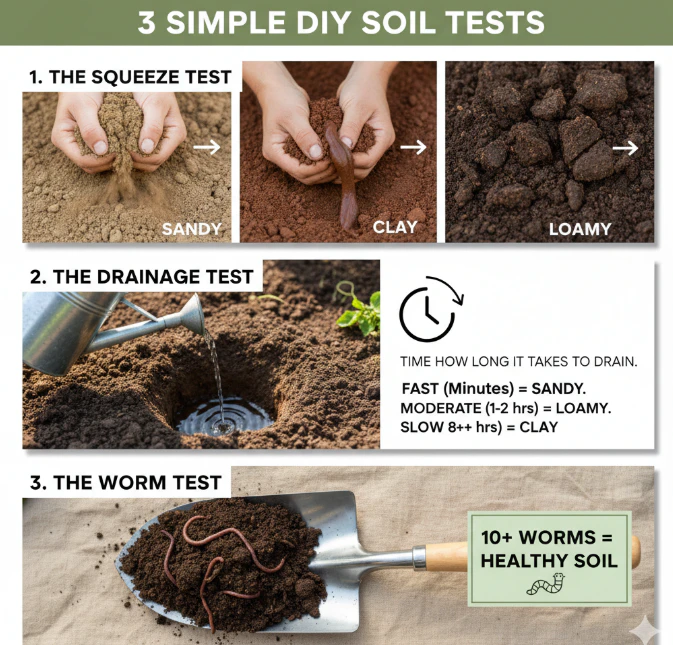
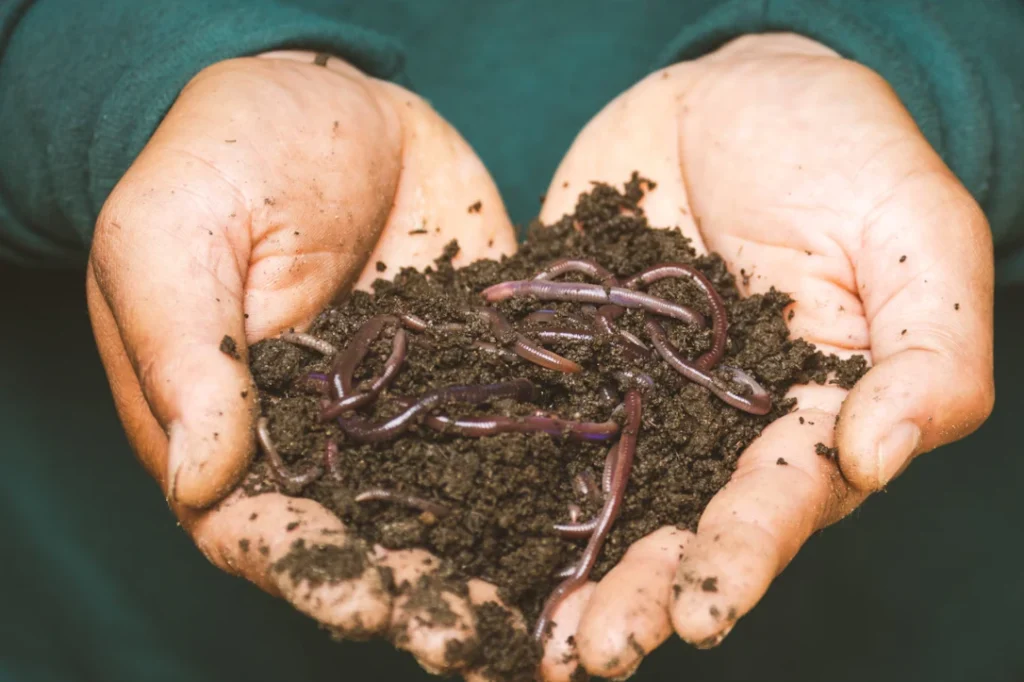
The Worm Test: Counting Your Underground Helpers
This is the easiest and most hopeful test of all. It’s a direct measure of how “alive” your soil is. On a mild day when the soil is moist, simply dig up a one-foot-square section of your garden about 6-8 inches deep. Place the soil on a tarp and count the number of earthworms you find.
- 10 or more worms? Your soil is healthy and full of life!
- Fewer than 10? It’s a good sign that your soil could use more organic matter to feed these valuable workers. The more worms I find in my soil, the happier I am. They are my best gardening assistants, constantly tilling the soil and leaving behind nutrient-rich castings.
The Gardener’s Ultimate Secret: The Magic of Organic Matter
So you’ve done the tests. You’ve discovered you have sticky clay, or fast-draining sand. Now what? Do you need a dozen different complicated products? No.
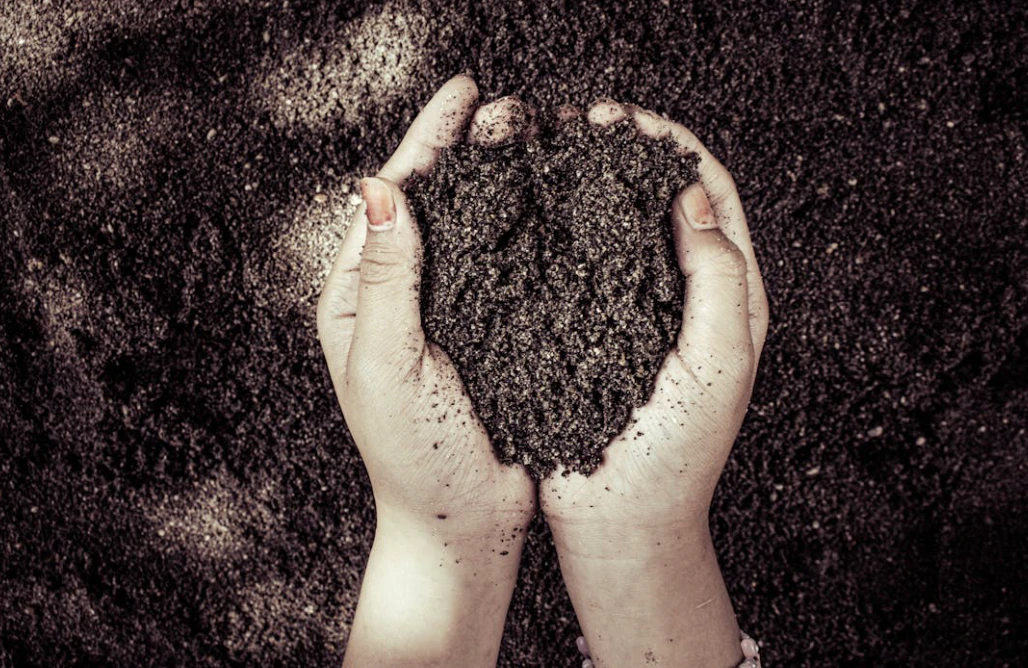
Here is the single most important secret I have ever learned about gardening: no matter what problem you have with your soil, the solution is almost always the same: add more organic matter.
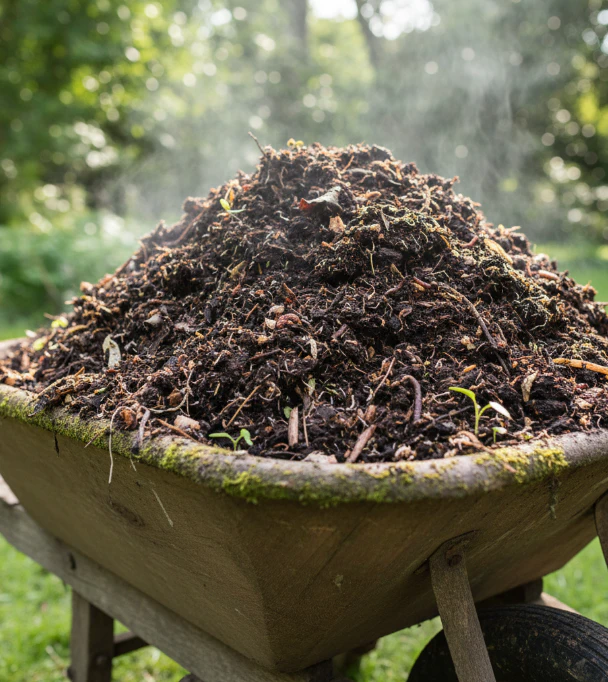
Organic matter is the miracle ingredient. It’s simply a collection of once-living materials like decomposed plants and animal manure. The best and most accessible form of organic matter is compost.
- How does it work its magic?
- In heavy clay soil, compost forces the tiny, sticky particles apart, creating millions of tiny air pockets. This improves drainage and allows roots to breathe.
- In sandy soil, compost acts like a sponge, holding onto water and nutrients that would otherwise wash away.
Making your own compost is the cheapest and most sustainable way to get this “black gold.” We cover this in detail in our beginner’s guide to composting with fall leaves.
My Soil Improvement Action Plan: 5 Key Amendments
“Organic matter” is a broad term. When you go to a garden center, you might feel overwhelmed by the options. Here are the five simple amendments I rely on year after year to build and maintain my healthy soil.
1. Compost: The Undisputed Champion
If you can only add one thing to your soil, make it compost. It’s a perfectly balanced, nutrient-rich soil conditioner that improves any soil type. You can make it yourself or buy it in bags. There is no such thing as adding “too much” compost.
2. Shredded Leaves / Leaf Mold: Nature’s Free Gift
Every fall, nature drops a free gift on our lawns. Don’t bag them up and throw them away! Shredded leaves are a fantastic “brown” material for your compost, but you can also apply them directly to your garden beds as a mulch or till them into the soil. As they decompose, they create “leaf mold,” a wonderful soil conditioner that fungi and earthworms adore.
3. Aged Manure: A Powerful Nutrient Boost
Composted or aged manure from animals like cows, horses, or chickens is a fantastic source of nutrients. The key word here is “aged.” Never use fresh manure directly on your garden, as its high nitrogen content can “burn” and kill your plants. I always make sure the manure I buy is well-rotted and looks more like dark soil than what it once was.
4. Coco Coir or Peat Moss: The Moisture Sponges
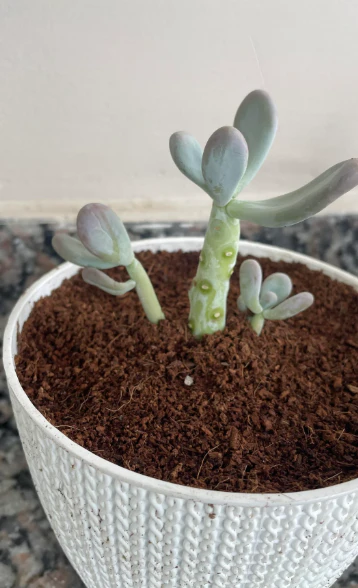
These amendments are incredible at retaining moisture. I use them most often in my container gardening mixes and raised beds. They are lightweight and can hold many times their own weight in water, which means less frequent watering for you. Coco coir (made from coconut husks) is my preferred choice as it’s a more sustainable resource than peat moss.
5. Grass Clippings: A Source of Free Nitrogen
Fresh, green grass clippings from your lawn are a great source of nitrogen. You can add them to your compost pile or spread them in a thin layer over your garden beds as a mulch. A word of caution: only use clippings from a lawn that has not been treated with any chemical herbicides or “weed and feed” products, as those chemicals can harm your vegetable plants.
The Secret to an Easy Spring: Do the Work in the Fal
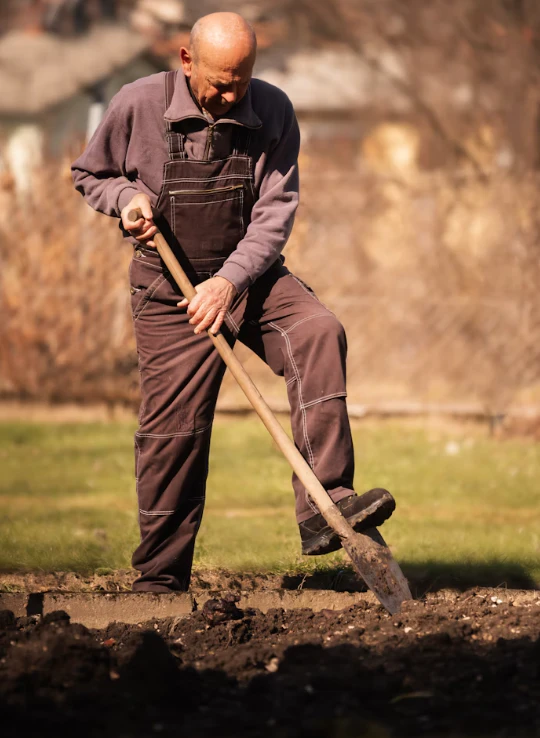
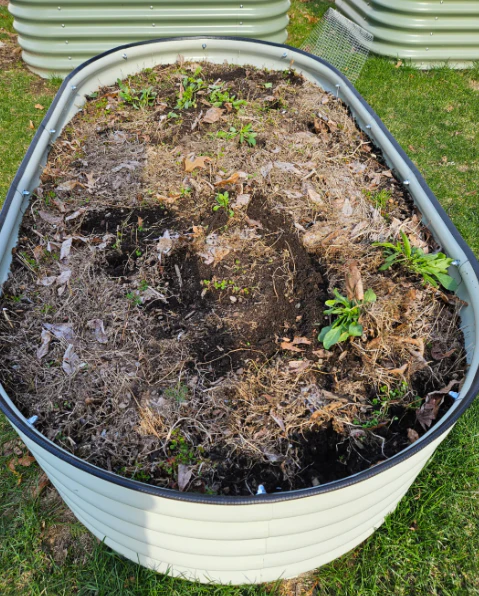
You can improve your soil at any time of year, but the absolute best and most effective time to do it is in the autumn. After I’ve cleaned out my summer vegetable beds, as part of my fall garden cleanup routine, I layer on a few inches of compost and shredded leaves. I then let the garden rest. Over the winter, the rain, snow, freeze-thaw cycles, and all the worms and microbes do the hard work for me, breaking down that organic matter and integrating it into the soil.
When I come out to the garden on the first warm day of spring, I’m greeted with the most beautiful, dark, crumbly, and life-filled soil, ready for immediate planting. It’s a true gift to my future self.
Conclusion: Stop Treating Your Soil Like Dirt
For years, I treated my soil like dirt—an inert substance that was just there to hold my plants up. The moment I started treating it as a living, breathing partner in my gardening journey, everything changed for the better.
You don’t need to be a soil scientist to have a great garden. You just need to be a good observer and a consistent provider. Take a moment to go outside, grab a handful of your soil, and really get to know it. Is it gritty or sticky? Does it smell earthy and alive? Are there worms?
Listen to what it’s telling you. Feed it well with the good stuff—compost and organic matter. If you take care of your soil, I promise you, it will reward you with a healthy, abundant, and beautiful garden for years to come.